
Last updated November 14, 2026
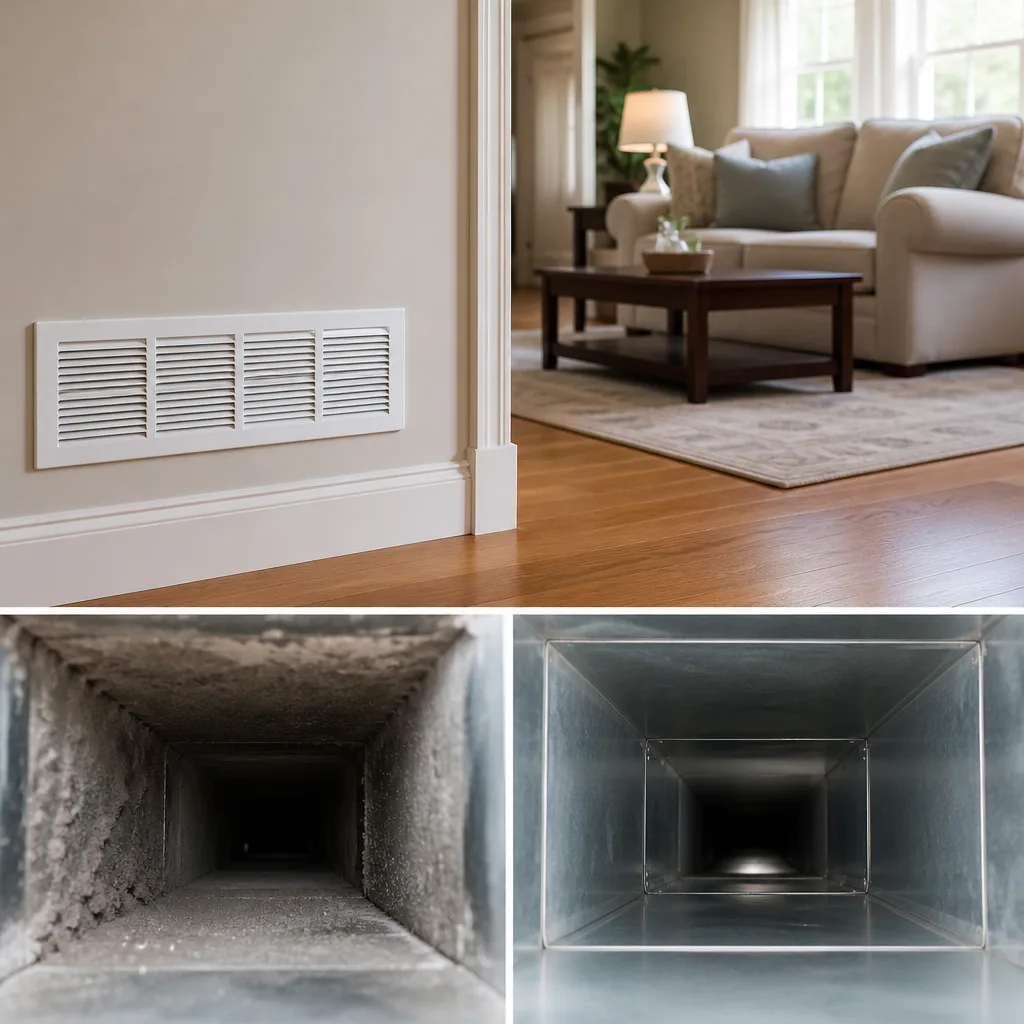 Whole-home duct cleaning
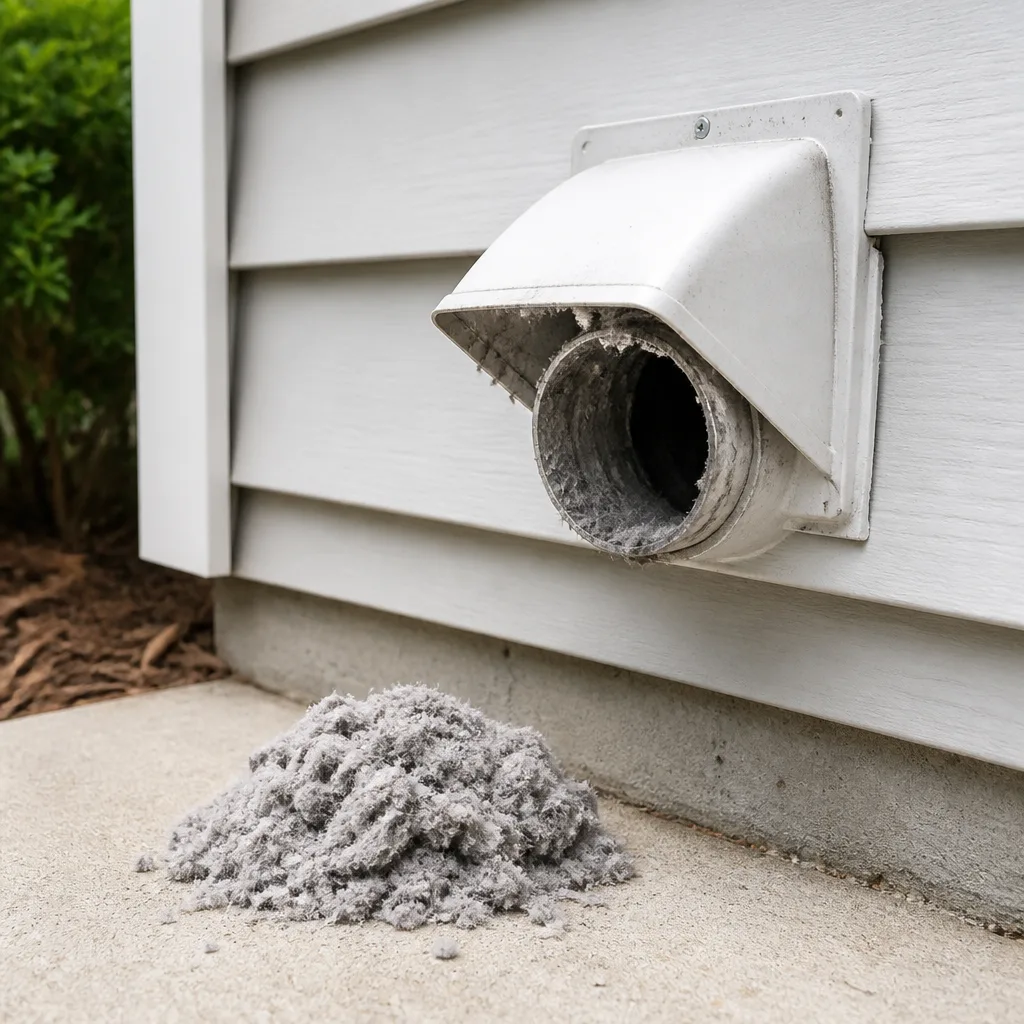 Dryer vent cleaning
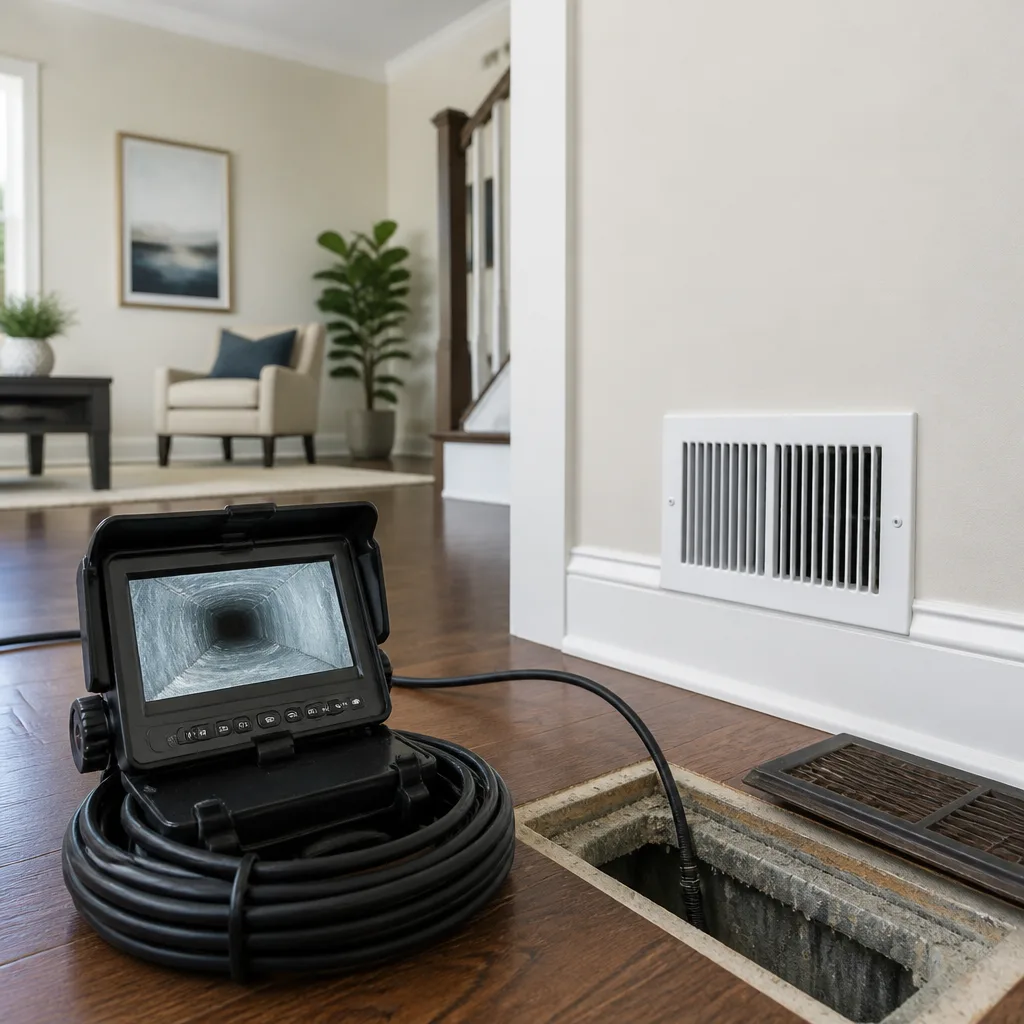 Camera inspection
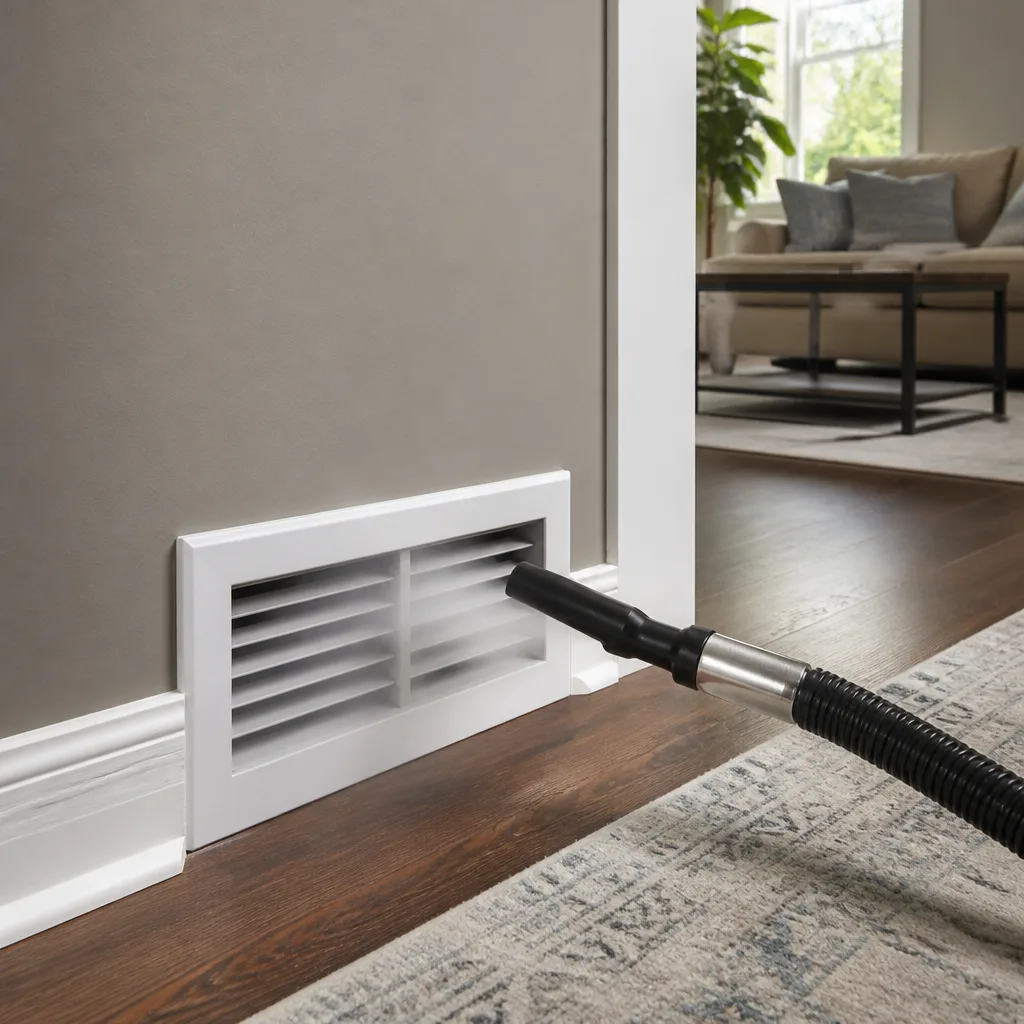 Sanitizing & deodorizing
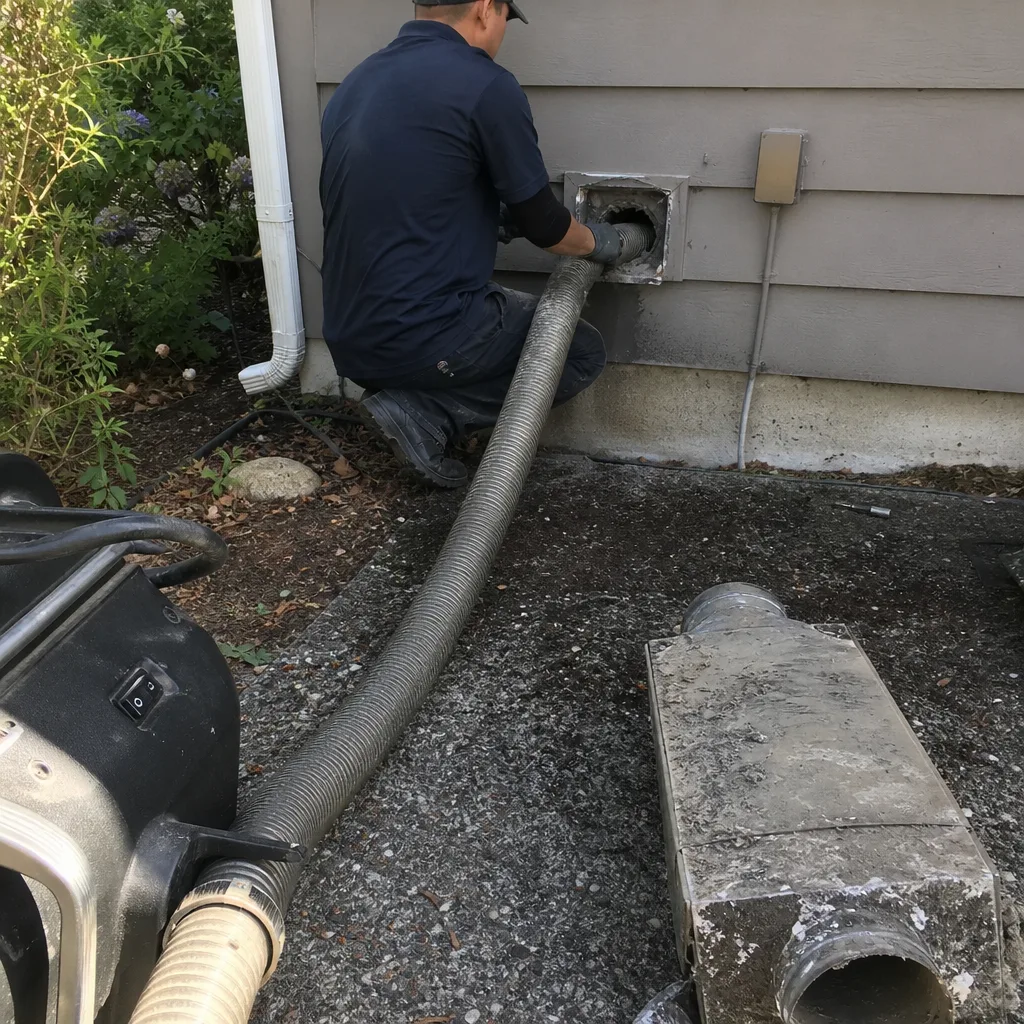
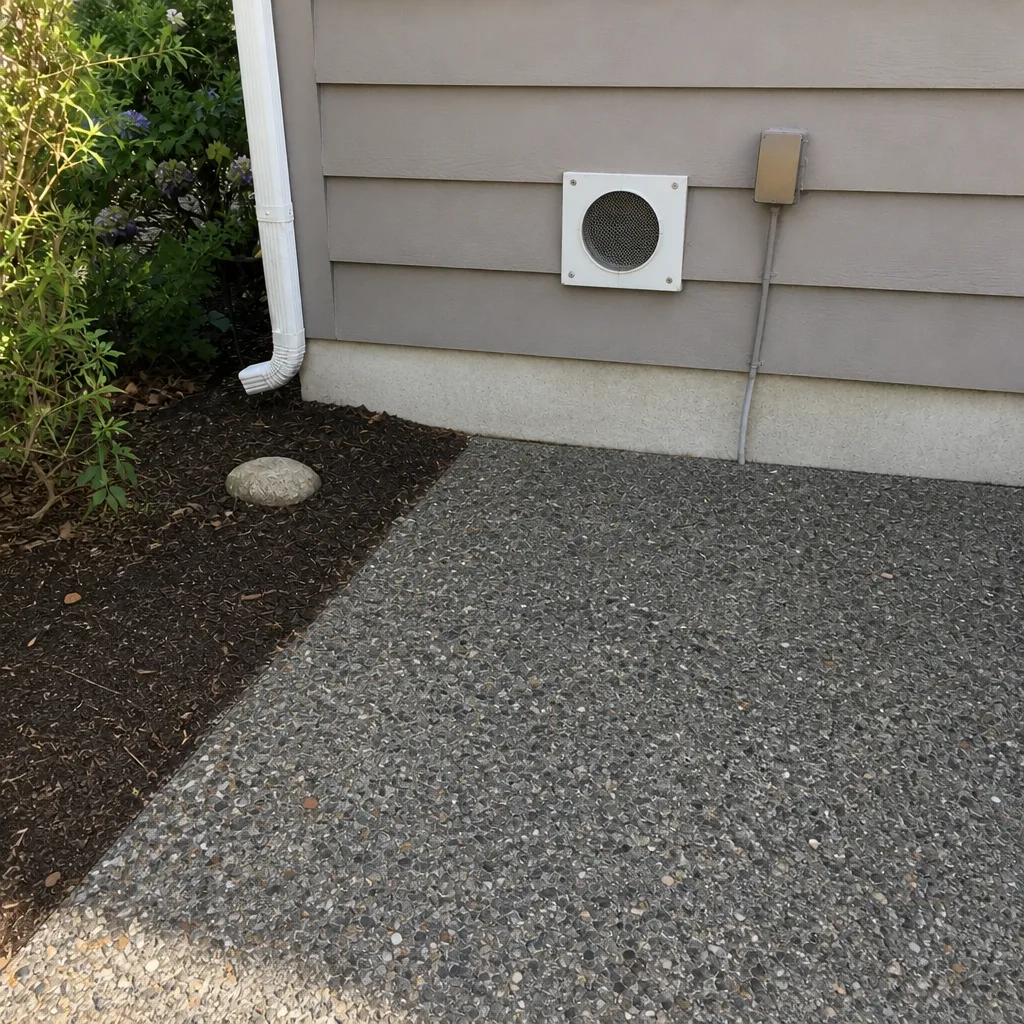
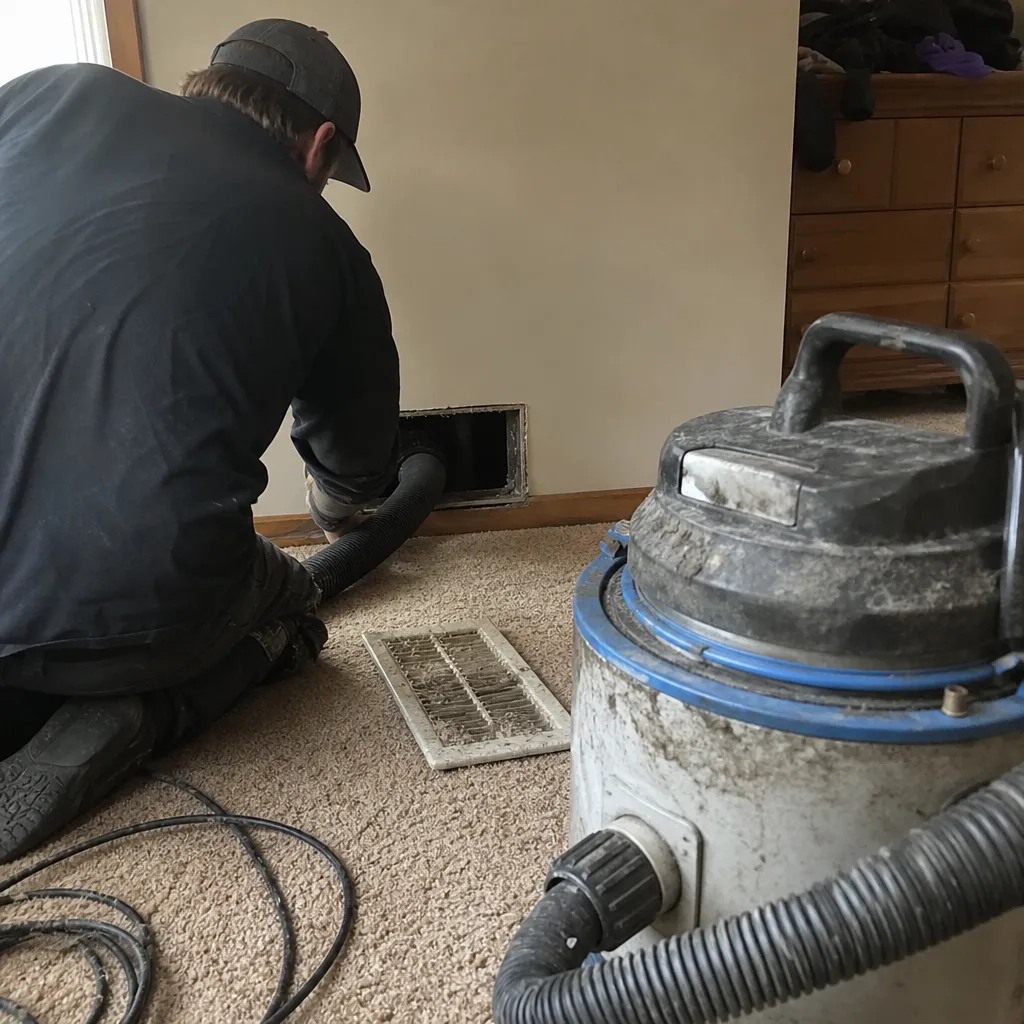
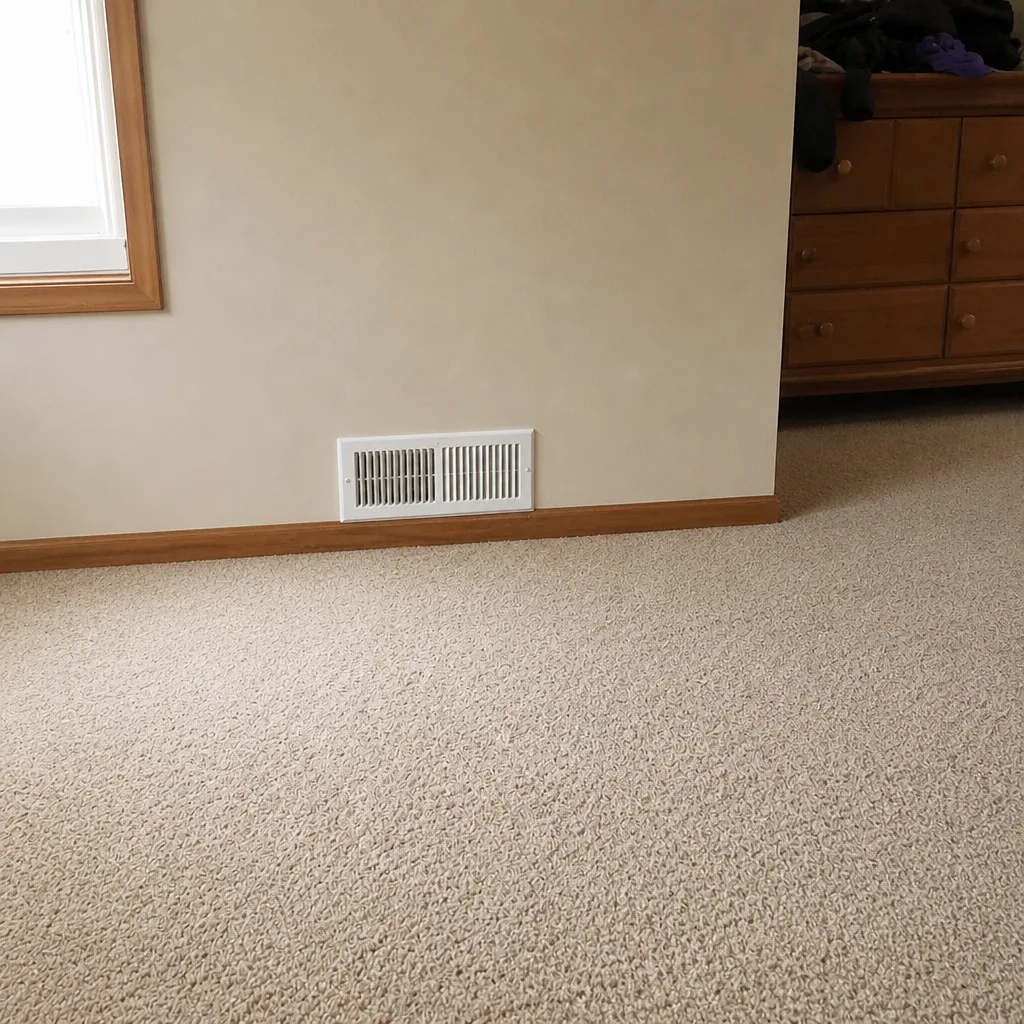
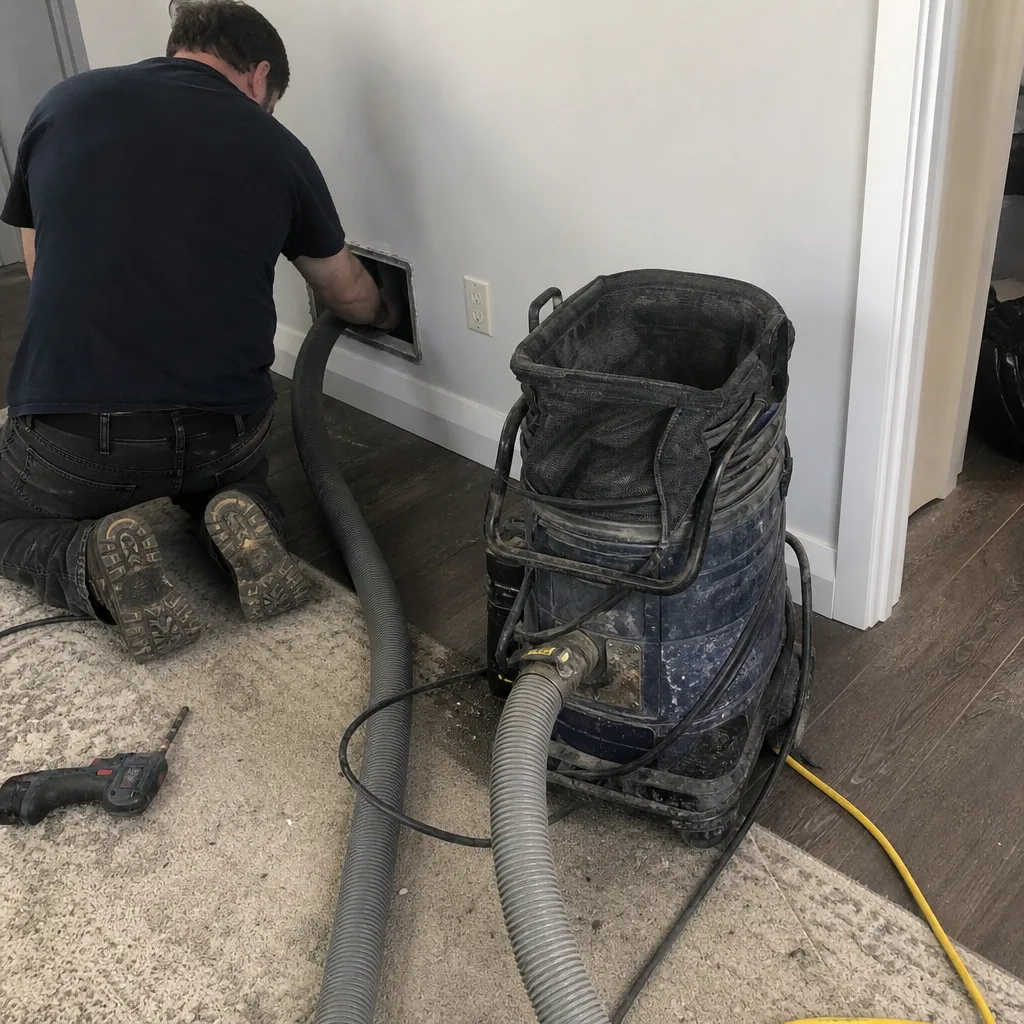
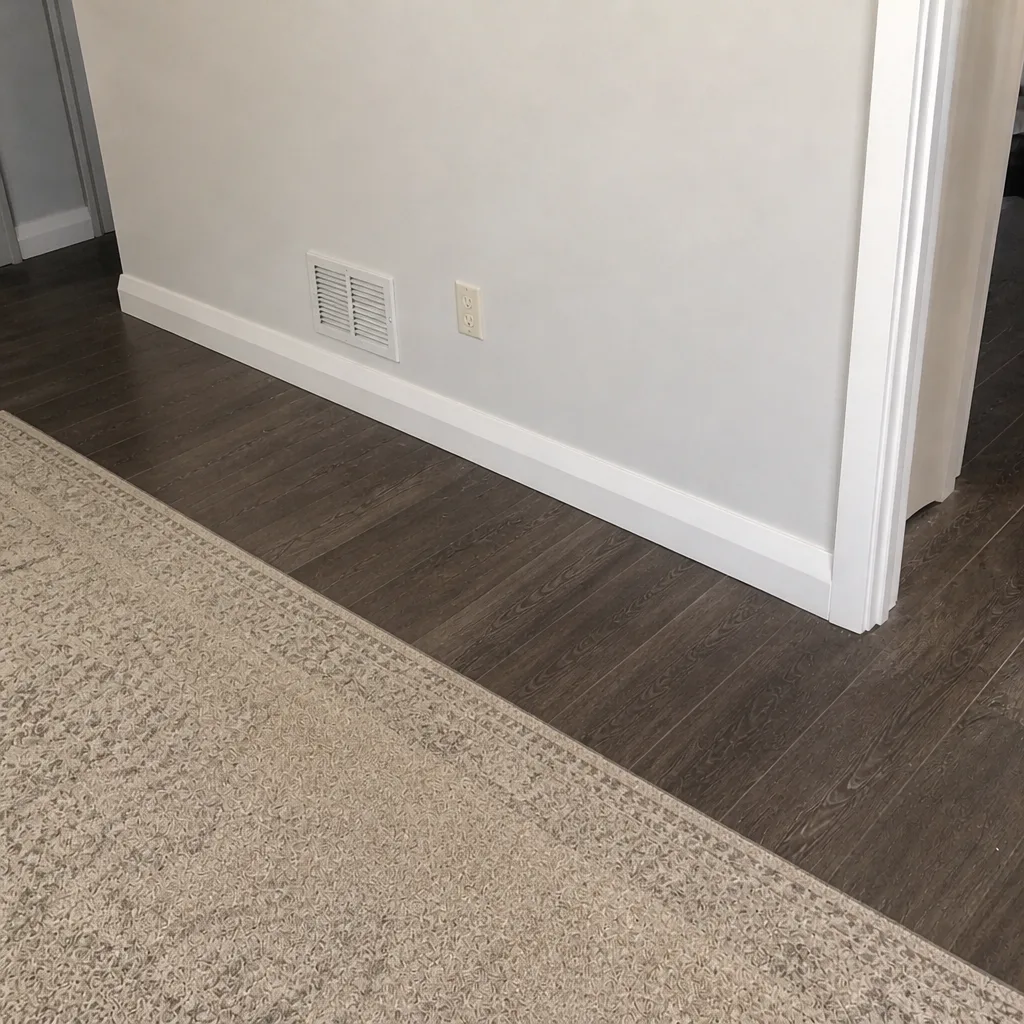
Whole-system duct and dryer vent check with before-and-after photos - you see exactly what came out of your vents
That "$99 whole-house special" is a bait ad - the real number appears once they are in your hallway, or the "clean" is a shop-vac at the register. We photograph the inside of your ducts before and after instead.
Air Duct Cleaning Troubleshooting in Everett: Common Problems and How to Fix Them
If your airflow got worse after a duct cleaning, the cleaning probably didn’t cause it. More often, brushing loosened debris that was masking a collapsed flex run, a disconnected joint, or an oversized gap at a register boot, and now the system’s real weakness is showing. That’s a repair problem wearing a cleaning problem’s clothes. In this guide, we’ll walk you through how to read your system’s symptoms – weak airflow, returning odors, whistling registers, uneven room temperatures – and tell the difference between something a second cleaning might help and something that needs an actual structural fix. Everything here applies to the housing stock and climate you deal with in Everett.
Styles & brands we work with
- Whole-home duct cleaning
- Dryer vent cleaning
- Camera inspection
- Sanitizing & deodorizing
Quick Answer
Most duct cleaning problems in Everett trace back to structural failures – disconnected or collapsed duct segments, failed joints, or oversized gaps at register boots – not leftover dirt. A pressure test and camera inspection separate a cleaning issue from a repair issue in minutes. If your ducts were cleaned recently and airflow or odors didn’t improve, the next step is inspection, not another cleaning.
Table of Contents
- How to Diagnose Why Your Ducts Still Feel Dirty or Weak After Cleaning
- The Pressure Test That Separates Residual Debris from a Disconnected Duct
- Why Musty Odors Come Back Weeks After Cleaning
- Everett Climate, Condensation, and What It Does to Duct Liners
- How to Visually Inspect Accessible Trunk Lines with a Phone Camera
- When to Convert a Troubleshooting Call into a Repair Quote
- What Professional-Grade Equipment Actually Looks Like
- Common Mistakes to Avoid
- When to Call a Professional
- Frequently Asked Questions
- The Bottom Line
How to Diagnose Why Your Ducts Still Feel Dirty or Weak After Cleaning
A duct system is a pressure vessel disguised as sheet metal and flex hose. When it’s sealed and sized correctly, air moves where it’s supposed to go. When something breaches – a joint separates in the attic, a flex run gets crushed under insulation, a boot pulls away from the subfloor – the system quietly fails at that point, and the symptom usually appears somewhere else entirely. So diagnosing a post-cleaning problem means tracing symptoms back to their source, not assuming the cleaning was incomplete.
Here’s the order we work through when a homeowner in Everett calls us after a cleaning that didn’t deliver:
- Confirm the complaint is real and specific. “It feels weaker” needs a number. A cheap anemometer at a register, or a tissue held up to the grille, gives you a baseline you can compare across rooms.
- Map the affected rooms against the trunk layout. If two or three rooms share a branch and they’re all weak while the rest of the house is fine, that’s a branch problem, not a system-wide one. Whole-house weakness points upstream, toward the air handler or main trunk.
- Check for the most common sources of pressure loss. That means loose flex connections at the plenum, kinked or crushed flex runs, boots that don’t meet the floor tight, and disconnected runs in the attic or crawlspace.
- Look for evidence of residual debris – and the difference matters. Debris that’s been brushed loose but not fully evacuated tends to sit in visible dust trails or plumes at the register. A disconnected duct has no visible dust signature, just a lack of airflow.
- Test rather than guess. If steps 1 through 4 don’t settle it, a pressure test does.
In our experience, the majority of “the cleaning didn’t work” calls we get in Everett turn out to be structural. That’s not a knock on whoever did the cleaning – it’s just what happens when a system with pre-existing damage gets cleaned. The brushing reveals what was already there. Any duct service that offers air duct cleaning without repair capability will hit this wall the same way. Go into a post-cleaning diagnosis expecting a structural answer, and you’ll find one faster.
The Pressure Test That Separates Residual Debris from a Disconnected Duct
A pressure test reads how hard the system has to work to move air through a duct, and it will tell you in a single reading whether you’re dealing with leftover dirt or a duct that’s disconnected. If the pressure is high upstream of a blockage, the obstruction (or debris accumulation) is real. If the pressure is low but the airflow at the register is also low, air is escaping somewhere – a breach, a disconnection, or a boot gap. Two clean categories, two very different fixes.
A technician typically does this with a static pressure gauge tapped at the plenum or at a register, and the reading depends on where it’s taken. For a homeowner trying to understand what the test is telling them, here’s how to read it:
- High static pressure, low airflow at the register: something is blocking or restricting the duct between the plenum and that register. Could be debris, could be a crushed section, could be undersized flex.
- Low static pressure, low airflow: air is leaking out before it reaches the register. Usually a disconnected joint or a boot that’s pulled away from the subfloor.
- Normal pressure, weak airflow at one register only: a localized branch problem, or a register damper partly closed.
- Normal pressure and normal airflow, complaint of odors only: pressure testing won’t find this. You need a camera inspection to see the inside surface.
For a system that was cleaned but still isn’t moving air, the combination of a pressure test and camera inspection is what actually identifies the problem. Rotobrush equipment pairs mechanical brushing with a camera, which is how we and other professional crews verify a duct’s interior condition before and after cleaning. A crew that showed up with only a shop vac and a brush has no way to see inside the duct, which is why they can’t tell a cleaning failure from a repair need. That’s one reason so many Everett homes end up getting cleaned twice by different crews and never solving the original problem.
If a pressure test shows the system is losing air rather than clogged, stop booking cleanings. You need a repair quote. We say this plainly because it’s the single most common wasted dollar we see: a homeowner pays for a second cleaning when they needed a $200 duct repair that would have fixed the actual issue.
Why Musty Odors Come Back Weeks After Cleaning
Musty odors that return within a few weeks of cleaning almost always mean there’s a moisture source inside the duct that cleaning can’t address. Cleaning removes the surface growth, but if the duct is still getting wet – from condensation dripping onto a liner, a return plenum pulling damp crawlspace air, or a leak at the air handler cabinet – the growth comes right back. Odor is a moisture signature, not a dirt signature.
In the Pacific Northwest, this is one of the top three duct problems we hear about in Everett, and the local climate is a big part of why. Marine humidity means ducts that cool below the dew point experience condensation cycles through the spring and fall. Interior duct liner – the fiberglass or foil-faced insulation that lines the inside of many trunks and plenums – absorbs moisture if it isn’t sealed well. Once a liner gets damp, it holds the moisture, and the odor cycle begins.
What to run through before you accept a second cleaning as the answer:
- Is the odor intermittent or constant? Intermittent odor that tracks with the system running suggests a moisture source that’s active when the system is on – condensation on a cold liner, or a return pulling from a damp space.
- Does the odor get stronger in the mornings? Cool overnight air creates more condensation. If it’s worse after a cold night, moisture is the more likely culprit than debris.
- Smell test at each register. If the odor comes from returns or one particular supply, that narrows the source to a specific section of duct, and a camera inspection can see whether the liner is wet or degraded.
- Check the air handler cabinet and coil. A wet coil or a drain pan that isn’t draining will wet the duct from the source end. Cleaning the ducts won’t fix it. We don’t do HVAC repair, so this is a call to an HVAC technician if the coil and drain are the source.
If the moisture source is inside the duct (a failed liner, a leaking vapor barrier), the fix is a duct repair, not a re-clean. Cleaning an already-damp liner repeatedly won’t hold. For serious air quality situations, Abatement Technologies equipment is what handles contamination-level removal with proper containment. Routine cleaning with a shop vac can actually make a moisture problem worse by disturbing growth without containing it – which is why the equipment matters here.
Everett Climate, Condensation, and What It Does to Duct Liners
Everett’s climate is mild and humid, with cool springs and falls and moderate summers. That combination is generous to duct liners for eight months of the year and rough on them the other four. The condensation cycle here doesn’t come from extreme temperatures – it comes from the difference between a cooled duct and the ambient air around it. When a supply duct runs through a cool crawlspace or attic and the air inside is colder than the surrounding air, condensation forms on the outside of the duct and, if the vapor barrier is compromised, on the inside as well. That’s the mechanism that turns a small liner defect into a musty-duct problem over a few seasons.
Three Everett-specific climate factors worth knowing:
- Marine humidity through spring and fall: the air holds moisture most of the year, so duct surfaces that drop below the dew point condense for longer stretches than they would in a drier climate. That means more opportunity for interior liner degradation.
- Moderate summers with cool nights: the temperature swing between day and night drives air conditioning and heating to run intermittently, and every on/off cycle causes the condensing/evaporating cycle that slowly damages an unprotected liner.
- Older Everett housing stock: many of the homes we see in neighborhoods across Everett – from the older stock near downtown to newer builds on the edges – have duct systems that weren’t sealed to today’s standard. A vapor barrier with a small gap is common, and once moisture migrates through it, liner degradation follows.
The symptoms of liner degradation and the symptoms of dirty ducts overlap almost completely in Everett: musty smell, visible dust at registers, and worsening airflow. That overlap is why so many homeowners in this city get a cleaning when they needed a repair. If your ducts have been cleaned in the last year and the smell still came back, the odds strongly favor a moisture or structural issue. If air quality is the main concern beyond dust, upgrading filtration with a Honeywell or Aprilaire unit can help, but only after the moisture source is dealt with – filtration doesn’t fix a wet duct. We’ll cover how to spot it in the next section.
How to Visually Inspect Accessible Trunk Lines with a Phone Camera
You can inspect an accessible trunk line with a phone camera in under fifteen minutes, and it will tell you more than a second cleaning appointment will. The key word is accessible – a trunk line with a register you can reach, or a flex run you can see in an attic or crawlspace, is fair game. Anything buried in a sealed wall isn’t. What you’re looking for is whether the duct’s interior surfaces and connections are sound, not whether they’re spotless.
Here’s the process, step by step:
- Start at an accessible supply register. Pop the grille, then slide the phone camera in with the flash on and take a photo pointing in each direction down the duct. Don’t try to stick your hand in any further than the register – that’s it for this step.
- Take photos at every register you can safely access. You’re looking for consistent interior surfaces. One duct with a visible tear, a hunk of detached liner, or a joint that doesn’t meet the next section is a problem.
- Look at the register boots. The boot is where the duct meets the floor or wall. A gap around the boot or a boot that’s separated from the subfloor is a leak – and a leak here means air escaping before it reaches the room.
- Check accessible flex runs in the attic or crawlspace. Look for kinks, crushed sections, and runs that have come loose from their collar at the plenum. A flex run that’s sagging or been stepped on is restricting airflow even if it’s not visually torn.
- Check for visible moisture. Water stains, damp insulation, rust at a joint, or a musty smell coming off a duct as you open the register are all signs of a moisture problem – which points you to a repair, not a re-clean.
What you’re not doing: opening sealed ducts, poking into the air handler, or getting into an attic with a phone camera without a properly supported surface to stand on. Attic work is one of the more dangerous parts of this job, and it’s where a lot of well-intentioned DIY inspections end badly. If you can’t comfortably and safely access the duct in question, stop there and let a professional handle it.
When you do get photos, treat them as evidence. A photo of a torn liner or a disconnected boot means the next call should be a duct repair quote, not a cleaning. Take the photos with you when you call – it saves a round trip and it makes the request unambiguous.
When to Convert a Troubleshooting Call into a Repair Quote
A troubleshooting call should convert to a repair quote the moment you find structural damage – a disconnected segment, a collapsed flex run, a failed joint, or a boot that isn’t sealed. Cleaning is a maintenance operation; repair is structural. Re-cleaning a duct that has a breach wastes money twice: once on the cleaning you didn’t need, and again on the call to fix the thing that should have been fixed first. If a pressure test, camera inspection, or your own phone-camera look turns up a breach, stop the cleaning path right there.
The three signs a cleaning problem is actually a repair problem:
- Airflow is weak in a specific room even though the rest of the house is fine. That’s a branch problem, almost always a disconnected, crushed, or damaged run feeding that room. The fix is a repair.
- The duct is visibly damaged when you look inside it. A torn liner, a collapsed section, or a joint that doesn’t meet is not a cleaning issue. It’s a structural defect and requires physical repair.
- The problem keeps coming back after cleanings. If two cleanings in a row left the same symptom, the cleaning is not the answer. Stop booking cleanings.
This is where the difference between a duct-cleaning-only contractor and a full-scope duct service matters. A crew that only cleans will tell you to clean again, because that’s what they can do. A crew that repairs identifies the structural issue, quotes the fix, and does it. In our experience, that’s the real reason most second cleanings happen in Everett. The first call found a symptom but couldn’t reach the fix. We repair what others walk past – breached flex, failed connections, collapsed sections, damaged boot seals – because we’ve built the business around the whole scope, not just the cleaning side.
One more thing: repair and cleaning are often done on the same visit, but they’re quoted separately. The cleaning you might still need (if the duct is dirty on top of being damaged) is priced as its own job. The repair is priced on its own. You’ll know what each one costs before anything is done. The duct cleaning in Everett side of our own work is always quoted that way – one price per system, not per vent.
What Professional-Grade Equipment Actually Looks Like
Professional duct equipment looks different from a shop vac for a reason: it’s designed to contain what it removes and to record what it does. A shop vac pulls debris out of a duct but recirculates fine particles back into the room unless it’s properly filtered. Professional equipment uses negative pressure to keep the entire duct system under vacuum while the cleaning happens, so dislodged particles are trapped instead of dispersed into the living space. That’s the difference between “cleaned the duct” and “cleaned the air around the duct.”
The three equipment categories that matter and what each does:
- Mechanical brushing with camera inspection (Rotobrush): the brush loosens the debris and the camera verifies what the duct looks like before and after. This is what makes the results verifiable rather than assumed. A cleaning crew that can’t show you the inside of your duct hasn’t verified anything.
- HEPA-rated negative-pressure vacuums (Nikro): the same class of containment equipment used in professional remediation work. The standard here is real filtration, not just suction – the point is to trap, not to push debris into the room.
- Contamination-level air handling (Abatement Technologies): for situations where the ducts aren’t just dusty – they’re contaminated. That’s a different tier of equipment from routine cleaning, and it’s why the first two categories alone aren’t always enough.
The fourth piece of the puzzle is filtration and air quality components after the cleaning. Honeywell, Aprilaire, and Guardsman are brands we work with for upgrades – a media filter cabinet, a humidifier, or a filtration setup that actually holds onto what the cleaning removed. That’s a separate decision from the cleaning itself.
You don’t need to know every brand name to evaluate a contractor. The three questions to ask are: Do you use HEPA-rated negative-pressure equipment? Do you camera-inspect before and after? Can you repair the duct if you find a problem during the inspection? The answers tell you whether you’re getting a verified cleaning or a shop-vac pass.
Common Mistakes to Avoid
-
Booking a second cleaning without a diagnosis. If the first cleaning didn’t fix the problem, the second one won’t either unless the underlying issue gets addressed. A pressure test or camera inspection costs less than a wasted re-clean. In Everett, we see this pattern most in homes with a disconnected attic run – the occupant assumes the ducts need cleaning again, when they need a repair.
-
Assuming the odor is leftover dirt. Odors that return within weeks are a moisture signature, not a dirt signature. Cleaning surface growth off a duct that’s still getting wet is like mopping a floor with a running leak. Deal with the moisture source, then clean if the ducts still need it.
-
Choosing a crew with only a shop vac and a brush. If the technician can’t camera-inspect the duct, they can’t tell you what’s in it or what came out. The equipment is the verification. Ask for photos before and after; refuse the job if they can’t provide them.
-
Thinking a repair quote means the crew is upselling. A real repair quote comes with evidence – a photo of the disconnected section, a pressure reading, or a camera still – and it’s priced separately from any cleaning. Insist on seeing the evidence before you approve the work, and expect the crew to have it. A crew that can’t show you what’s wrong doesn’t get the repair job.
-
Skipping the accessible routes in your own house. Fifteen minutes with a phone camera at the register catches the obvious stuff. If you see a torn liner or a disconnected boot, you’ve just saved yourself a cleaning appointment and reached the actual repair.
-
Confusing “it feels cleaner” with “it’s fixed.” A fresh-smelling register doesn’t mean the duct is sealed. The test is airflow and the camera, not your nose. Verify with a pressure reading or a photo before you sign off on the job being done.
-
Ignoring a failed boot seal. A boot that doesn’t meet the floor leaks air into the wall cavity, and the symptom is a weak register. It’s a small fix, often done in the same visit as the cleaning, but it has to be identified first – and that means someone has to look at the boot, not just the duct.
When to Call a Professional
Call a professional when the symptoms repeat after a cleaning, when you see structural damage you can’t safely reach, when odors return within a few weeks of a cleaning, or when you have a moisture problem you’re not comfortable diagnosing yourself. Also call if you’ve been in the house a while and don’t know when the ducts were last serviced – a first inspection will tell you what you’re dealing with. Attic and crawlspace work is where we most strongly advise professional help; ducts aren’t worth a fall or a back injury.
Duct Cleaning Everett offers free estimates in Everett – call (833) 991-7936. We answer 24/7. Fast dispatch from 7am to 7pm, Sunday through Friday. We’ll tell you honestly whether the problem is cleaning or repair, and the price is set per job by the written estimate before any work starts. If your ducts need repair on top of cleaning, you’ll see a separate, clearly quoted line for each. We repair what others walk past, and we’ll show you the camera footage if you ask.
Frequently Asked Questions
Airflow often gets worse after cleaning because the cleaning loosened debris that was masking a structural problem – a collapsed flex run, a disconnected joint, or a boot gap. The cleaning didn’t cause the problem; it exposed one that was already there. A pressure test and camera inspection will tell you whether you’re dealing with a leak or a blockage, and the fix depends on which it is.
Musty odors that return within weeks point to a moisture source inside the duct, not incomplete cleaning. Cleaning removes surface growth, but a damp liner or a leaking vapor barrier will regrow it quickly. In Everett’s humid climate, condensation cycles through spring and fall make this pattern especially common. The fix is identifying and repairing the moisture path, not booking another cleaning.
A disconnected duct shows low airflow at the register with low static pressure at the plenum – air is escaping before it reaches the room. A dirty or blocked duct shows high static pressure with low airflow. A phone camera at an accessible register can catch an obvious disconnected flex run or a boot gap; for anything hidden, a pressure test and camera inspection settles it.
Only if the smell comes from surface debris and the moisture source has already been dealt with. If the liner is damp or the vapor barrier has failed, cleaning the duct surface won’t hold – the growth returns. Cleaning removes the symptom; the moisture repair removes the cause. A professional inspection tells you which you need, and it’s worth doing before you book a cleaning.
Professional air duct cleaning in Everett is priced per system, not per vent, and the estimate is free. A written quote for the job you actually need – cleaning, repair, or both – is set before work begins. Any quote that can’t be written down in advance, or that prices per register, is a red flag. Call (833) 991-7936 for a free estimate.
Cheap quotes usually reflect a shop-vac-and-brush service with no camera inspection, no HEPA containment, and no repair capability. They can’t verify what they removed or diagnose what they found. The gap between a cheap quote and a professional one is mostly equipment and scope. If the crew can’t show before-and-after photos, that’s the tell. Call (833) 991-7936 if you want a written estimate on a full-scope quote.
For most Everett homes, every three to five years is a reasonable interval – sooner if you’ve just moved in, renovated, or have pets, and sooner if you notice the symptoms we’ve discussed in this guide. A camera-verified inspection tells you more than a calendar does, and if a diagnostic turns up a repair need, that comes first. Call (833) 991-7936 if you’re not sure where your system stands.
The Bottom Line
Most duct cleaning problems in Everett aren’t cleaning problems. They’re structural: a disconnected run, a collapsed section, a boot gap, or a moisture source that keeps a duct wet. A pressure test and a camera inspection tell you within minutes whether you’re looking at dirt or damage – and once you know, you stop wasting money on second cleanings. If your ducts were cleaned recently and the symptoms persist, the next call should be an inspection, not a cleaning. And if the inspection turns up a repair need, make sure whoever you call can do both – dryer vent clearing, duct cleaning, and duct repair in the same visit – rather than sending you to a second contractor. The camera doesn’t lie. Take the photos, get the pressure reading, and let the evidence decide.
Written by the team at Duct Cleaning Everett, serving Everett.
Ready to find out whether your ducts need cleaning or repair? Call (833) 991-7936 for a free estimate. We answer 24/7. Fast dispatch from 7am to 7pm, Sunday through Friday. Camera-verified results, one price per system, and a written quote before work begins.
For related work, read about dryer vent cleaning and what it covers, or learn more about the neighborhoods we serve across Everett.
See the difference
 Before
 After
 Before
 After
 Before
 After