
Last updated November 14, 2026
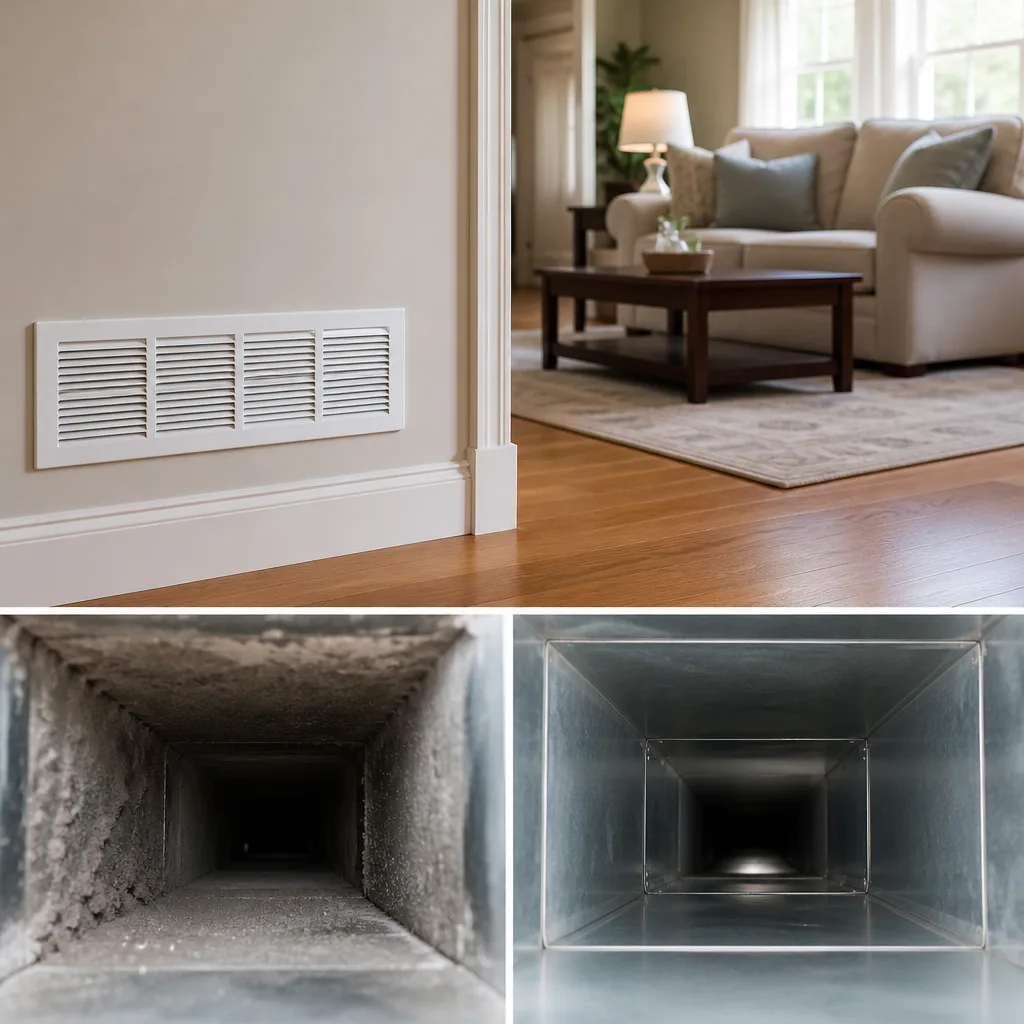 Whole-home duct cleaning
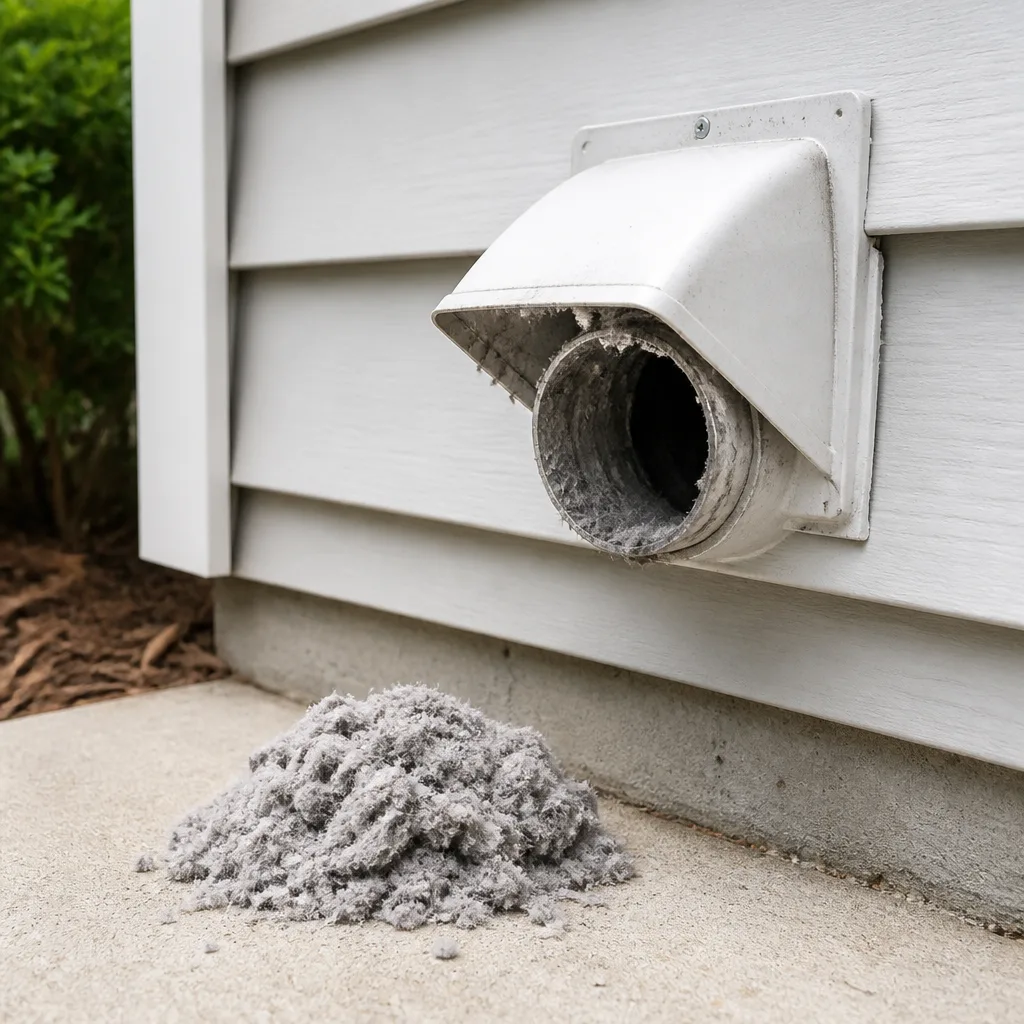 Dryer vent cleaning
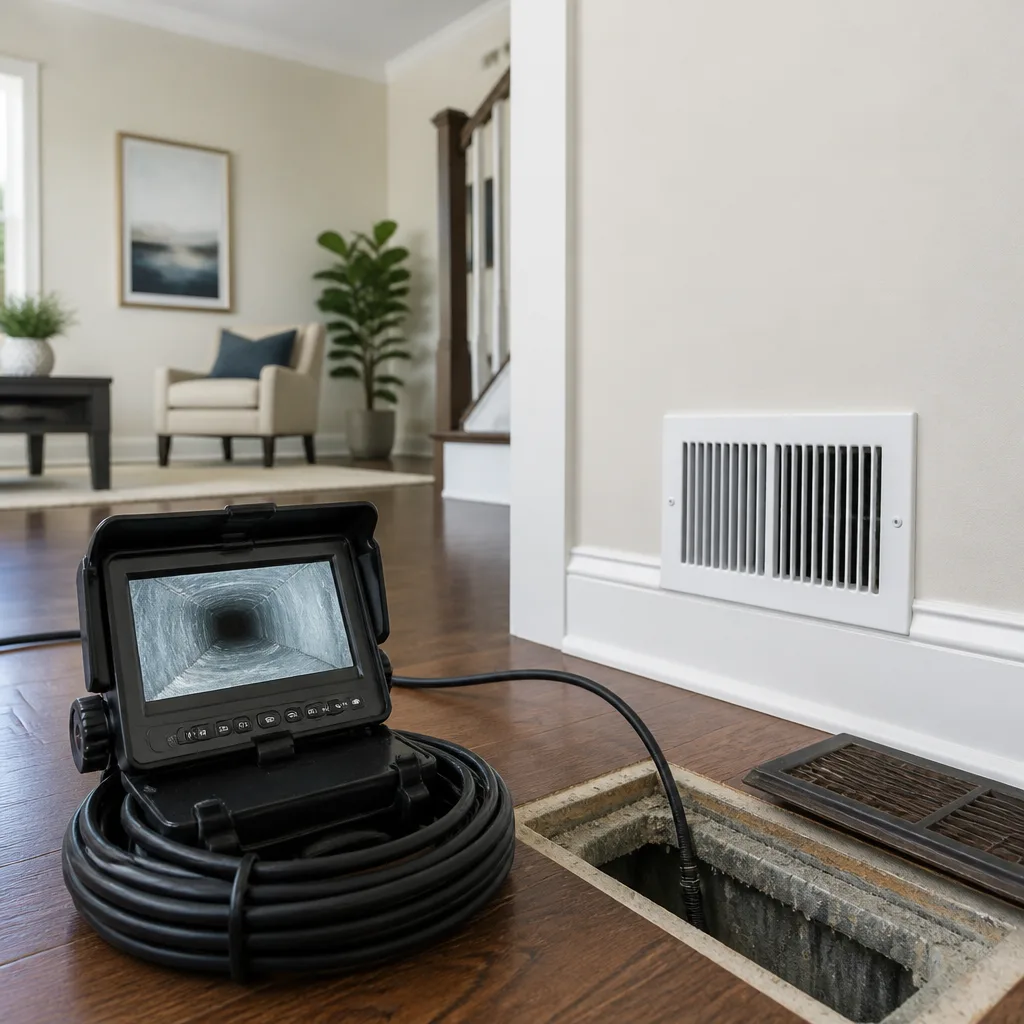 Camera inspection
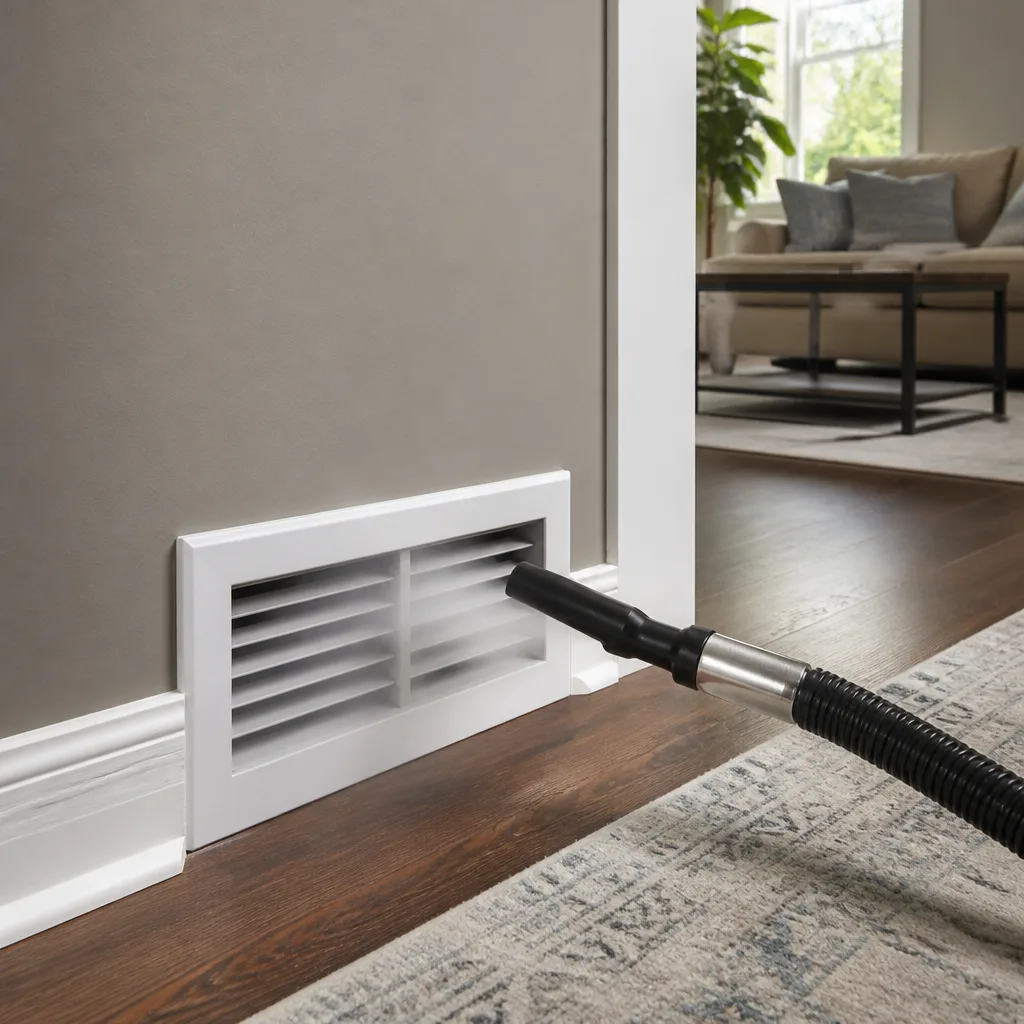 Sanitizing & deodorizing
Whole-system duct and dryer vent check with before-and-after photos - you see exactly what came out of your vents
That "$99 whole-house special" is a bait ad - the real number appears once they are in your hallway, or the "clean" is a shop-vac at the register. We photograph the inside of your ducts before and after instead.
The Complete Guide to Air Duct Cleaning in Everett
Most duct cleaning guides are written for Phoenix or Atlanta, climates where moisture isn’t the primary variable. In Everett, where average annual humidity hovers above 75%, the contamination inside your ducts looks and behaves differently than what most national guides describe. You’re not dealing with dry dust that brushes off a galvanized wall. You’re dealing with moisture-fed biofilm, Pacific corridor dust that settles in layers, and woodsmoke residue that clings to duct lining through the heating months. This guide walks through how we actually approach duct work in Everett – the inspection protocol, the equipment that matters, why negative pressure changes the outcome, and why we treat duct repair as a prerequisite to cleaning rather than an upsell after it. If you’ve had a cheap cleaning and suspect it didn’t accomplish much, the details below will explain why.
Quick Answer
Air duct cleaning in Everett is a process, not a single pass with a vacuum. It starts with a camera inspection, moves through negative-pressure containment and mechanical brushing, and finishes with a visual verification that the contamination is actually gone. In this climate, the moisture content inside duct systems means cleaning without inspection and containment does more to redistribute debris than remove it. If your ducts haven’t been serviced in years, or you’ve had a previous cleaning you weren’t satisfied with, the process below is what a proper job looks like.
Styles & brands we work with
- Whole-home duct cleaning
- Dryer vent cleaning
- Camera inspection
- Sanitizing & deodorizing
Table of Contents
- Why Everett’s Climate Changes What’s Inside Your Ducts
- The Inspection-First Protocol: Why We Scope Before We Clean
- What Contractor-Grade Negative Pressure Actually Does
- Duct Repair as a Prerequisite, Not an Add-On
- Post-Cleaning Verification: What Should Be Confirmed Before We Leave
- What a Full Duct Cleaning Involves, Step by Step
- Dryer Vent Cleaning: The Safety Side of the Same Job
- What Duct Cleaning Costs in Everett
Why Everett’s Climate Changes What’s Inside Your Ducts
Humidity drives the difference. In a dry climate, duct contamination is mostly mineral dust and lint that stays loose. In Everett, the air carries moisture most of the year, and that moisture does something to dust: it binds it. Dust that settles on the inside of a duct in a humid house doesn’t stay powdery. It forms a tacky layer that subsequent dust sticks to, and the layer thickens. Add the warmth of a furnace cycle in the cooler months and you have the conditions for biofilm – a thin biological film that develops on damp surfaces inside duct lining, particularly on fiberglass-lined flex duct and on any section where condensation collects.
There’s a second layer to this. Pacific corridor dust from the region’s weather patterns carries fine particulates that behave differently from the heavy dust you’d find in, say, an inland agricultural area. It stays airborne longer and settles deeper into aduct system, including the returns and the plenum. And through the heating season, woodsmoke from the region gets pulled into the return side of a system and layers on top of the biofilm and dust. The result is contamination that’s stratified – different materials, different adhesion, different removal requirements.
Why does that matter practically? Because a single-pass vacuum and a hand brush doesn’t touch it. Mechanical brushing breaks the adhesion; negative pressure contains the material once it’s broken loose; and the brushing has to reach the duct lining, not just the duct walls. If you’ve read a national guide that says duct cleaning takes an hour, it was written for a climate where the contamination comes off easily. Here, it doesn’t.
The Inspection-First Protocol: Why We Scope Before We Clean
We don’t clean a duct system before we’ve looked inside it. A camera scope costs the technician twenty minutes and tells us three things that no amount of guessing can replace: how much contamination is present, what kind it is, and whether the system has structural problems that need addressing before cleaning makes sense. Skipping the scope is the single most common weakness in discount duct cleaning – the crew arrives with a vacuum and a brush and starts working, and the homeowner has no idea whether the job accomplished anything.
Here’s what a proper inspection covers:
- Camera scope of the main trunk lines and branches. We run a camera through the supply and return sides to see the lining condition, contamination depth, and whether any sections are crushed, disconnected, or blocked.
- Return-side inspection. Returns collect more contamination than supplies in most Everett homes because they pull from floor level, where dust, pet hair, and debris settle. A scope of the return trunk tells us how much of the system’s total load sits on the return side.
- Connection and joint check. Flex duct joints, plenum connections, and takeoff collars are common failure points. A disconnected flex run doesn’t just lose air – it pulls unfiltered air from a crawlspace or wall cavity directly into the living space.
- Filter and air handler review. A clogged or improperly seated filter means the system has been running without proper filtration, which changes what we’re likely to find in the ducts.
- Moisture assessment. We check for signs of condensation, standing moisture in the plenum, or damp insulation that would indicate a moisture problem upstream of the ductwork itself.
The scope results drive everything that follows. If the system is sound and the contamination is moderate, we clean. If the scope shows a crushed flex run or a disconnected joint, cleaning the system around that failure just moves air through a compromised pathway and redistributes contamination back into the living space. That’s the scenario where a homeowner pays for a cleaning and sees no improvement, because the cleaning addressed the symptoms while the structural problem sent debris straight back into the rooms.
What Contractor-Grade Negative Pressure Actually Does
Every duct cleaning company claims to use “HEPA vacuums.” What matters is not the label but whether the equipment can pull enough air volume to create genuine negative pressure inside the duct system while mechanical agitation breaks contamination loose. A portable shop vacuum, even one fitted with a HEPA filter, doesn’t move enough air or maintain containment inside the system. It sits outside the duct and sucks at a register while debris in the far branch lines goes undisturbed.
Here’s the difference in practice. The local pros run Nikro HEPA-rated vacuum systems as the primary negative-pressure source. Nikro units are the same class of equipment used in professional remediation work because they combine high airflow with true HEPA filtration on the exhaust side, meaning the dust that gets dislodged doesn’t get recirculated into the house. The vacuum creates negative pressure throughout the connected duct system, so when the brush is working in one branch, the debris from that branch is pulled toward the vacuum rather than drifting into adjacent ducts or back into the rooms.
The second half is the agitation. We use Rotobrush systems, which combine a rotating mechanical brush head with real-time camera inspection so the technician can see the duct interior while cleaning it. The brush breaks the adhesion layer; the negative pressure captures the material; the camera confirms the lining is actually clear. That combination – mechanical brush, negative pressure, live camera – is what separates a cleaning you can verify from a cleaning you have to take on faith.
For homes with heavier contamination – long-neglected systems, visible buildup, or a moisture situation that’s developed into a larger air quality concern – we deploy Abatement Technologies equipment. It’s built for contamination-level situations and handles the containment side of a serious job. The point isn’t to scare anyone into the biggest equipment; it’s that we have the right tool for what the scope actually shows, rather than fitting every job into one truck-mounted setup.
Duct Repair as a Prerequisite, Not an Add-On
We repair what other companies walk past. That’s the plain version of it. In Everett’s older housing stock – the neighborhoods around downtown, the Bayside and Port Gardner areas, the mid-century homes up toward Forest Park – flex duct that was installed decades ago is often crushed at a bend, disconnected at a collar, or sagging enough that the inner liner has collapsed. A collapsed liner creates a trap where dust accumulates faster than anywhere else in the system, and no amount of cleaning will fix it because the structural problem reintroduces contamination every time the system runs.
When we find damaged ductwork, here’s how the repair side works:
- Identify the failure. The camera scope shows us exactly where the duct is compromised – a crushed section, a joint that’s separated, a takeoff that’s not properly sealed.
- Determine whether repair or replacement is the right fix. Some sections can be reconnected and sealed. A crushed run may need the affected length of flex duct replaced so airflow and cleaning access are both restored.
- Restore the pathway before cleaning. Once the structural issue is fixed, the duct system can be cleaned as a complete, connected network rather than as a set of branches that leak air and debris into the wrong places.
- Verify the repair with the camera. The same inspection equipment that found the problem confirms the fix before we move on.
This is why we treat repair as a core service, not a referral. Most duct cleaning providers clean and leave; if the system has a structural fault, cleaning alone is a band-aid. Being able to inspect, repair, and then clean under one provider means the fix and the cleaning are coordinated rather than sequenced across two contractors – which is also why we’re able to offer filtration upgrades afterward, working with brands like Aprilaire and Honeywell to address the air quality side of a job once the duct system itself is sound.
Post-Cleaning Verification: What Should Be Confirmed Before We Leave
The question “how do I know the work was actually done?” is the right question to ask, and it deserves a concrete answer. A duct cleaning should end with verification, not with a technician packing up and handing over an invoice. Here’s what a proper close-out looks like:
- Visual scope of the cleaned sections. The technician runs the camera back through the main trunk and branches and shows you the lined duct interior post-cleaning. This is the “before and after” in its most useful form – the same ducts, the same camera angle, different condition.
- Confirmation that air is moving through the full system. A basic check that supplies and returns are flowing as they should and that no branch has been left blocked or disconnected during the cleaning process.
- Filter check and replacement guidance. Cleaning a system and leaving a saturated filter in place puts the system back to its previous state within weeks. The filter review at the end of a job is part of the job.
- A written summary of what was found and what was done. Scope findings, any repair work, the sections cleaned, and any recommendations for filtration or follow-up. This is also where the written estimate’s final scope is reconciled with what actually happened on-site.
If a company cleans your ducts and doesn’t offer a camera view of the result, that’s your answer about whether they used a camera on the way in. The verification step isn’t an extra – it’s how you know the job was done instead of scheduled.
What a Full Duct Cleaning Involves, Step by Step
When a system is sound and the scope shows it’s ready for cleaning, the sequence looks like this. It’s worth understanding the order because it explains why a proper cleaning takes time rather than a quick pass.
- Set up containment at the registers and air handler. Negative pressure needs a sealed system to work. We seal registers and connect the HEPA vacuum to the duct system so the whole network is under negative pressure before any mechanical agitation begins.
- Agitate the duct lining, branch by branch. The Rotobrush brush head works through the supply trunk and branches, breaking the adhesion of dust, biofilm, and smoke residue from the duct lining. The camera runs alongside so the technician sees what the brush is doing.
- Clean the return side. Returns load heavier than supplies, so they get their own pass with the same equipment.
- Clean the air handler and plenum. The blower compartment and plenum are part of the system. Leaving them uncleaned puts the contamination back into the air stream the first time the system runs.
- Clean the registers and grilles. Removed, cleaned, and re-seated.
- Post-cleaning scope and flow check. Camera verification through the cleaned sections, then a check that supply and return airflow is restored.
The whole sequence, done properly, is why we don’t quote a per-vent price or promise an hour’s work. The job’s length depends on the system’s size, its condition, and whether repair work is needed before or after cleaning. That’s also why the price is set per job by the written estimate, rather than by counting vents before anyone has looked at what’s inside them.
Dryer Vent Cleaning: The Safety Side of the Same Job
We treat dryer vent cleaning as a safety service because that’s what it is. Lint accumulates inside a dryer vent as a flammable material, and a vent line that’s restricted or blocked is a fire risk in the same way a blocked chimney is. The equipment that handles duct cleaning is the same equipment that handles a dryer vent correctly – negative pressure containment and a mechanical brush that clears the full length of the line, not just the first few feet you can reach from either end.
Everett homes often have dryer vent runs that are longer than the homeowner realizes, routed through a wall or up through the floor framing before exiting. Those longer runs have more places for lint to collect, and a homeowner checking the outside hood at ground level won’t see the blockage building inside the wall. We scope and clear the full run, then verify the airflow at the exterior hood. It’s part of the same visit for a homeowner who’s already having duct work done, and it’s the job that gets skipped most often because nothing goes visibly wrong until it does.
What Duct Cleaning Costs in Everett
We don’t quote a per-vent price. A number attached to “per vent” tells you nothing about the condition of the ducts or the scope of the work, and it’s the starting point for the bait-and-switch model where a low headline figure becomes a much larger invoice once the van’s outside. Instead, we look at the system, scope it, and write an estimate for the whole system based on what the job actually requires. Pricing is per job by estimate, and the written estimate sets the final price – one flat price per system, agreed before any work starts.
What drives the range on a given job: the size and layout of the duct system, how much contamination the scope shows, whether any repair work is needed before cleaning, and whether dryer vent work is included in the same visit. Homes with multiple systems or long duct runs take more time than a single-system home. Homes with a structural fault in the ductwork take more because the repair comes first. None of that can be priced honestly before someone has looked inside the system.
If a quote you’ve received came together without a camera inspecting the ductwork, ask what it’s based on. If a company can’t tell you how many systems you have, what the return-side condition looks like, or whether the ducts are structurally sound, the quote isn’t a quote – it’s a guess made from the driveway. Estimates are free, and we’ll walk you through the scope findings on-site so you understand what’s being priced and why.
Common Mistakes to Avoid
- Hiring on a coupon price without knowing the scope. A low headline number in a mailer rarely survives contact with the actual job. Ask what the price covers and whether the ductwork has been inspected before it was quoted.
- Skipping the camera scope. In a climate as humid as Everett’s, the contamination type and the structural condition of the ducts both need to be seen, not assumed. A cleaning without a scope is a cleaning without a baseline.
- Cleaning before repairing. Crushed flex duct and disconnected joints reintroduce contamination into the system. Cleaning a broken duct system is cleaning the same dirt twice.
- Assuming the return side gets cleaned. Returns hold more debris than supplies, and some quick cleanings focus entirely on the supply side because that’s where the visible registers are.
- Leaving the air handler out of the job. The plenum and blower compartment are part of the system. Cleaning around them leaves the contamination source in place.
- Trusting “we’ll show you photos” without specifying which photos. Ask for the camera view of the duct interior, same position before and after, not a photo of the equipment in the driveway.
- Forgetting the dryer vent. It’s a separate line from the HVAC ductwork and the one with the fire risk. If it’s been more than a few years, it’s due for a clearing.
See the difference
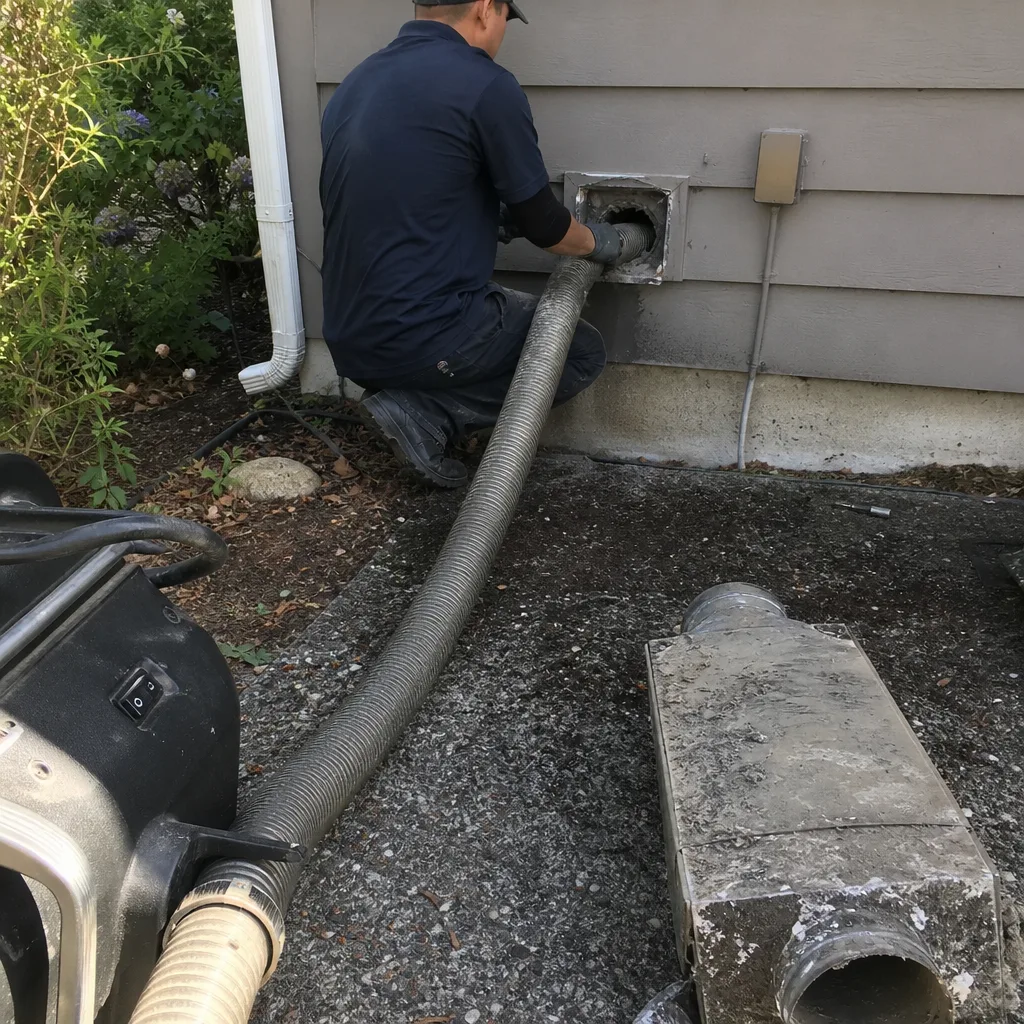 Before
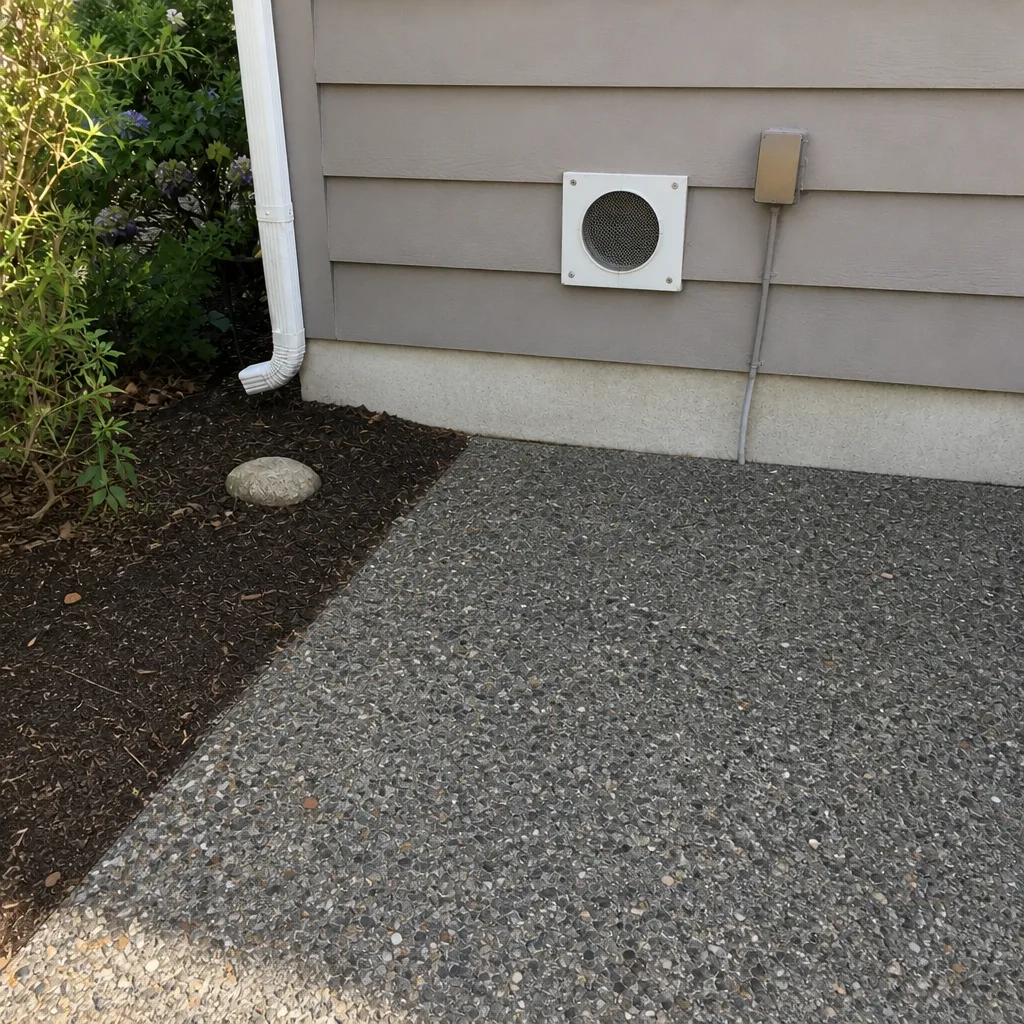 After
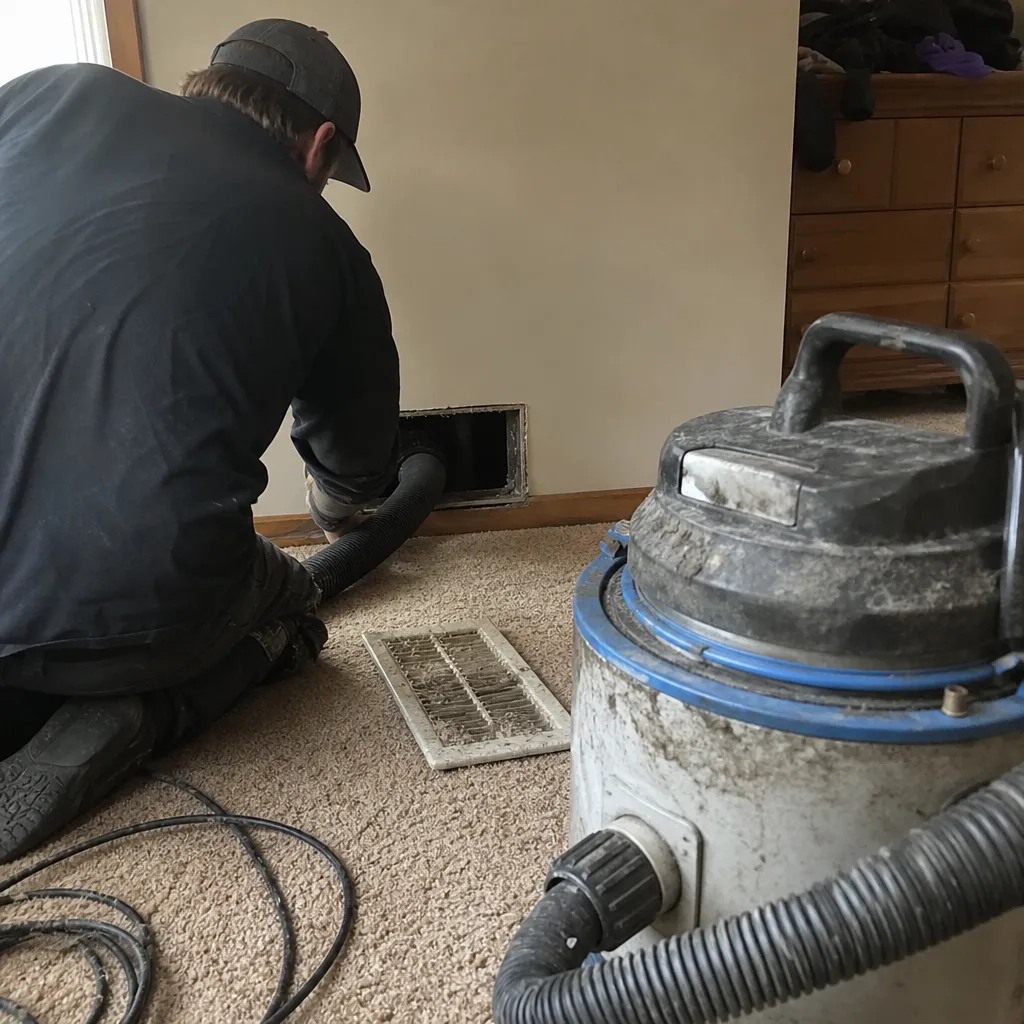 Before
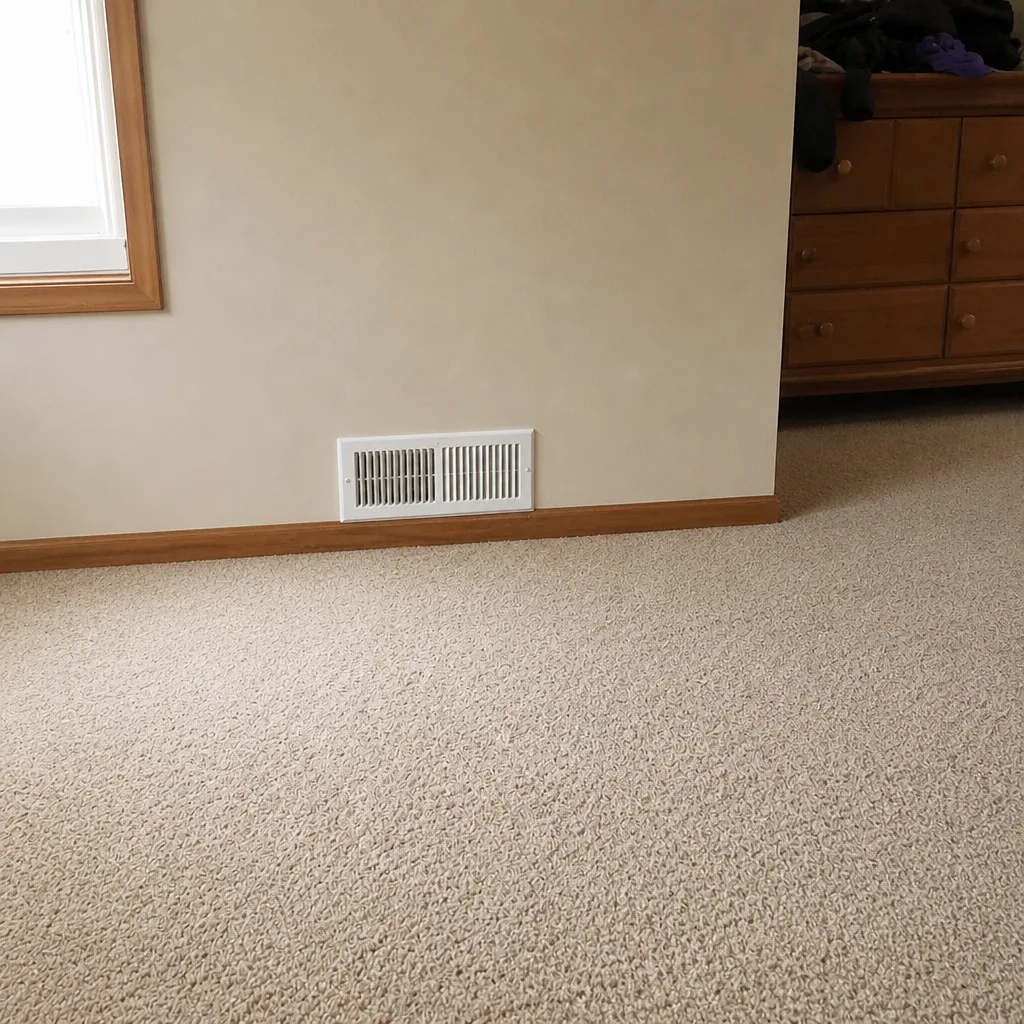 After
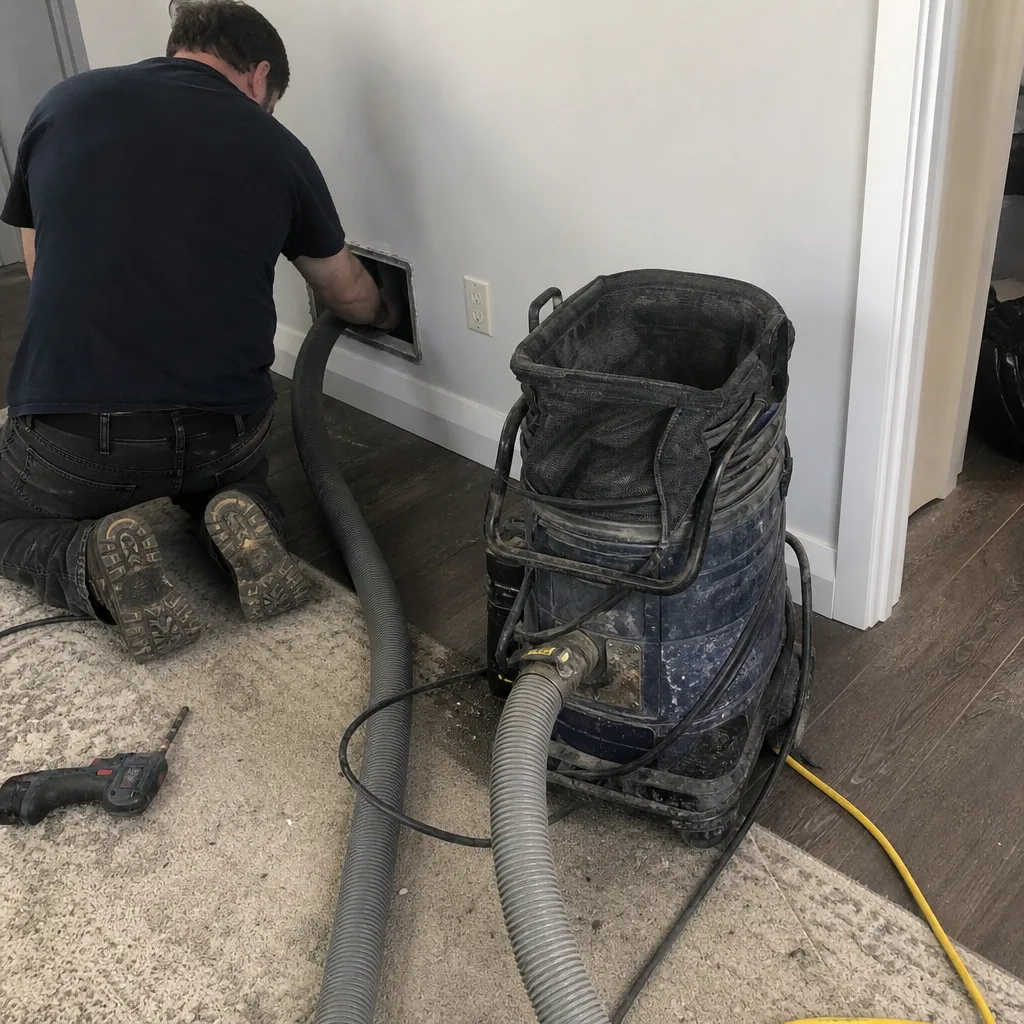 Before
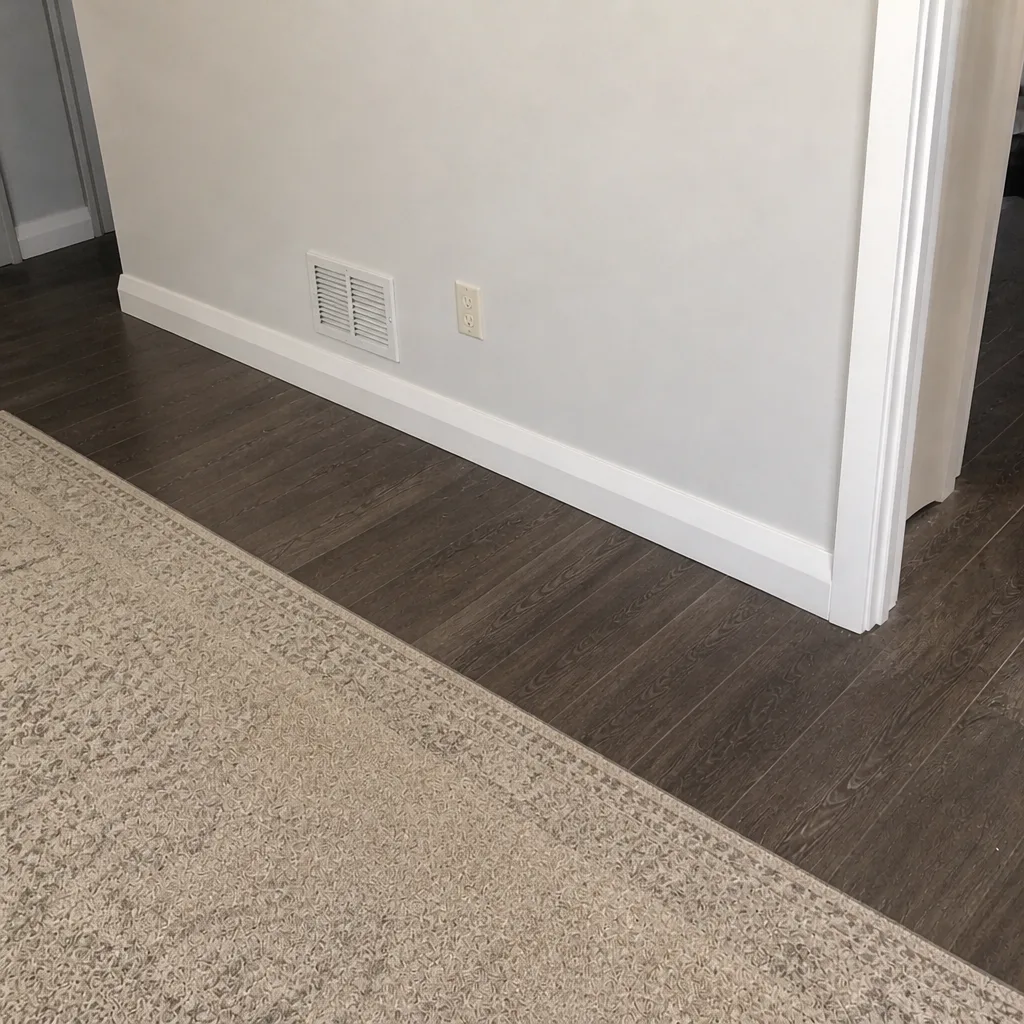 After
When to Call a Professional
Call a professional if you can see visible buildup on a register or grille, if the system has run without proper filtration for a stretch, if you’ve recently finished renovation work that generated dust, or if it’s simply been years since the ducts were serviced and nobody can tell you what’s inside them. Call sooner if you’ve noticed a dropped flex run in a crawlspace or attic, a disconnected joint, or reduced airflow from registers that used to blow strongly – those are signs the system needs repair before cleaning. And call for the dryer vent if it hasn’t been cleared in a few years, regardless of how the ducts themselves look.
Duct Cleaning Everett offers free estimates in Everett. We scope the system, show you what we find, and write the estimate on the whole system before any work begins. Call (833) 991-7936. We answer 24/7. Fast dispatch from 7am to 7pm, Sunday through Friday.
Frequently Asked Questions
Pricing is per job by estimate, based on the whole system rather than a per-vent count, so the written estimate sets the final price. What drives the number is the size and layout of the system, the condition the camera scope shows, whether repair work is needed first, and whether dryer vent clearing is included. We keep it to one flat price per system agreed before work starts. Call (833) 991-7936 for an exact quote – estimates are free.
Because they’re quoting a different job than the one a proper cleaning involves. A low figure usually prices a single pass with a portable vacuum, no camera inspection, no return-side cleaning, and no repair capability if the scope shows a problem. The gap between that quote and a full job shows up once the crew is on-site and the “extras” get priced individually. Our estimate covers the actual system, written after inspection, so the number doesn’t move once the equipment comes out. Call (833) 991-7936 to schedule a free estimate.
You see the camera view of the duct interior, same position before and after, plus a written summary of what was found and what was cleaned. Rotobrush camera inspection means the cleaning is verifiable as it happens rather than taken on trust afterward. If a company can’t show you the duct interior post-cleaning, they didn’t check it on the way in either.
It depends on the system and the household, not on a fixed calendar. Homes with pets, recent renovation, or a long stretch without proper filtration tend to need it sooner; a well-maintained system with clean filters can go longer. The honest answer is that an inspection tells you when it’s due – which is why we scope first rather than selling a cleaning on a schedule. Call (833) 991-7936 if you’d like an inspection and estimate for your home.
Yes, and it’s the main reason national duct cleaning guides don’t translate cleanly to homes here. Moisture binds dust to duct surfaces, feeds biofilm formation on damp lining, and changes how contamination has to be removed – mechanical brushing to break adhesion, negative pressure to contain it, camera verification that it’s gone. A dry-climate approach assumes dust stays loose, and here it doesn’t.
We can, but the repair comes first. Cleaning a system with crushed or disconnected ductwork just redistributes contamination through a broken pathway. Air duct repair is one of our core services alongside cleaning and dryer vent work, so the structural fix and the cleaning are coordinated in one job instead of split across contractors. The camera scope identifies the problem, the repair resolves it, and the cleaning happens on a sound system.
The Bottom Line
Duct cleaning in Everett isn’t a one-hour job with a shop vacuum, and the climate here is why. Moisture-fed contamination requires mechanical agitation to remove, contractor-grade negative pressure to contain, and a camera to verify – which means inspection comes first, repair comes before cleaning when the system is structurally compromised, and the job ends with a scope confirming the result. A written estimate on the whole system, agreed before work starts, replaces the per-vent guesswork that fuels this industry’s bait-and-switch reputation. If your ducts haven’t been looked at inside, the inspection is free and the findings are yours either way. Call (833) 991-7936. We answer 24/7. Fast dispatch from 7am to 7pm, Sunday through Friday.
Written by the team at Duct Cleaning Everett, serving Everett.