
Last updated November 14, 2026
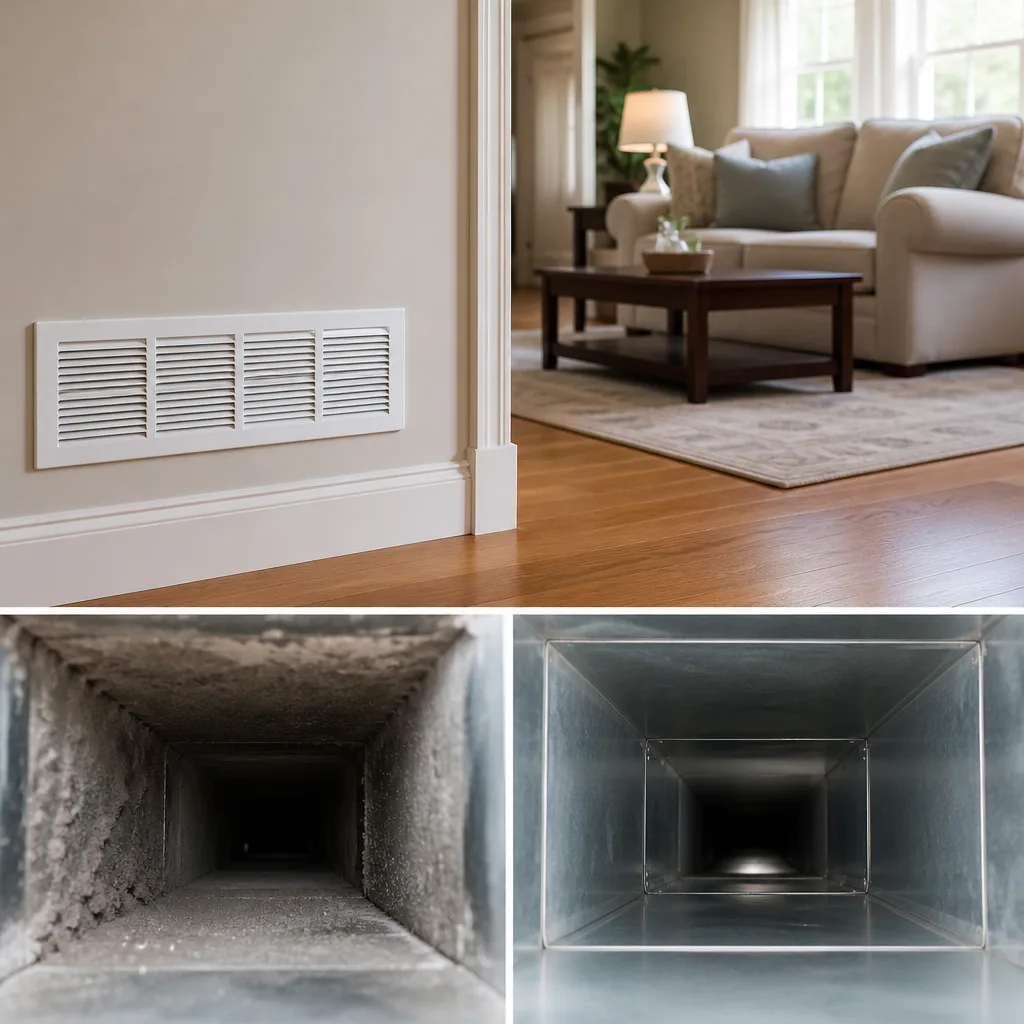 Whole-home duct cleaning
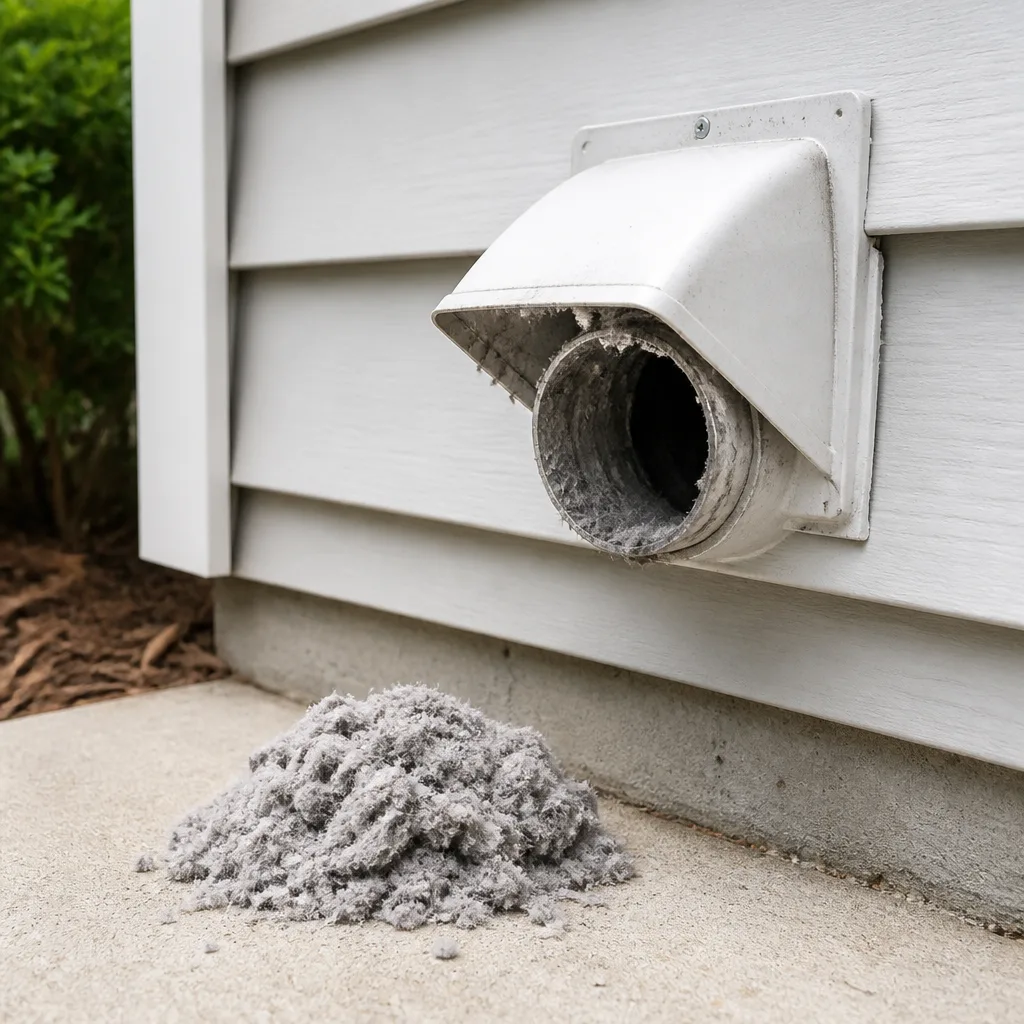 Dryer vent cleaning
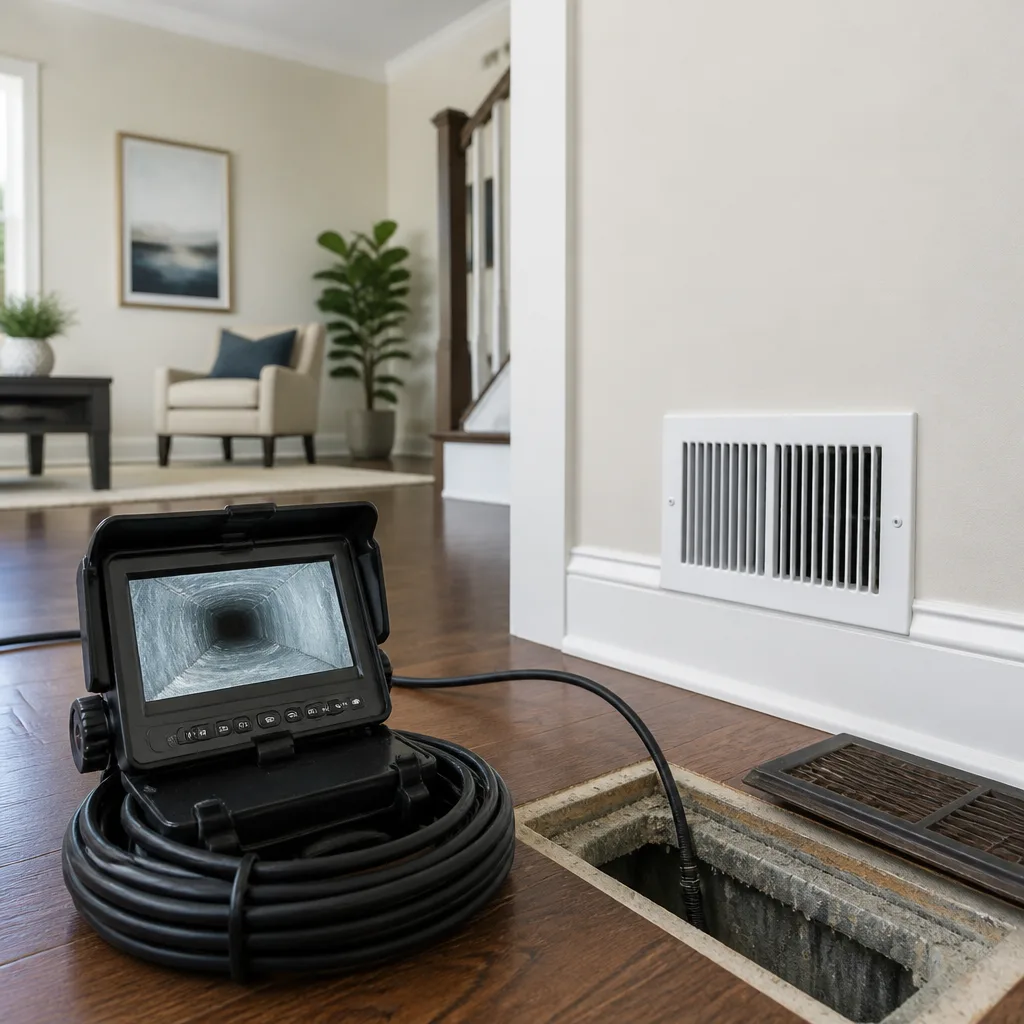 Camera inspection
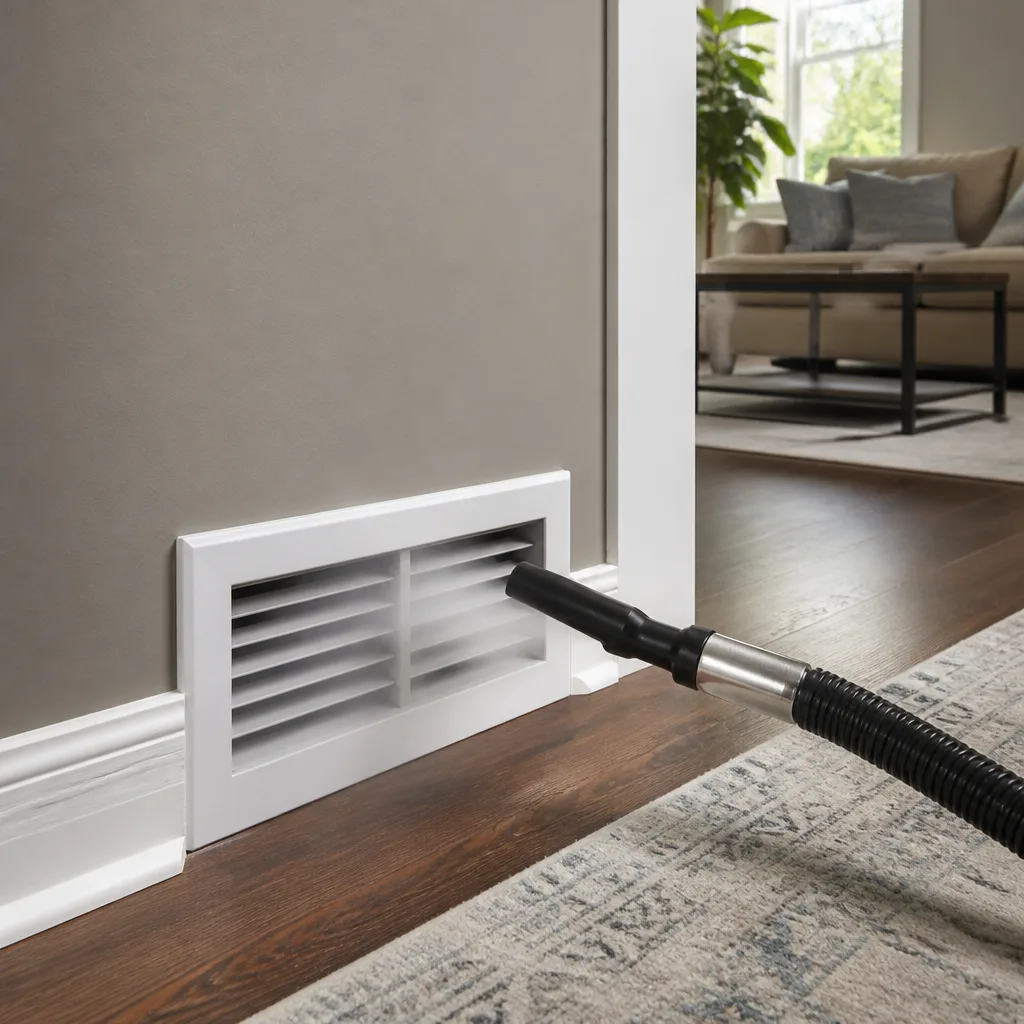 Sanitizing & deodorizing
Whole-system duct and dryer vent check with before-and-after photos - you see exactly what came out of your vents
That "$99 whole-house special" is a bait ad - the real number appears once they are in your hallway, or the "clean" is a shop-vac at the register. We photograph the inside of your ducts before and after instead.
DIY vs Professional Air Duct Cleaning: The Everett Homeowner’s Decision Guide
Every DIY duct cleaning tutorial you’ll find online skips the one variable that decides whether the job works: what happens to the debris once you knock it loose. Without a system under negative pressure before agitation starts, that dust, lint, and settled particulate has nowhere to go but into the rooms you’re trying to protect. The brush moves it. The vacuum pulls it. Miss the second part and you’ve simply relocated the problem. This guide walks through the airflow physics, the equipment reality, the parts of duct maintenance you can absolutely handle yourself, and the math that makes the professional call worth it in an Everett home.
Quick Answer
Professional air duct cleaning is worth it over DIY because source removal requires the duct system to be under continuous negative pressure while mechanical agitation loosens debris. Consumer vacuums and shop vacs can’t generate the airflow or containment to do that, so DIY attempts typically redistribute dust into living spaces rather than extract it. DIY is genuinely useful for register cleaning, filter changes, and dryer vent lint clearing; full system cleaning and any duct repair belong with professional-grade equipment.
Styles & brands we work with
- Whole-home duct cleaning
- Dryer vent cleaning
- Camera inspection
- Sanitizing & deodorizing
Table of Contents
- The Physics of Negative Pressure Containment
- What Everett Homeowners Can Legitimately Do Themselves
- Equipment Reality Check: Why Consumer Vacuums Fall Short
- When DIY Attempts Create New Problems
- The Cost-Justification Math for Everett
- Camera-Verified Cleaning: How to Know the Job Was Done
- The Repair Gap Most Cleaning Companies Won’t Touch
- How a Professional Cleaning Actually Runs
The Physics of Negative Pressure Containment
Source removal works on a simple principle: the debris has to be captured before it becomes airborne in your living space. That means the duct system needs to be under continuous suction from a HEPA-rated vacuum before any brush, whip, or air tool touches the interior surfaces. The vacuum creates negative pressure inside the ductwork relative to the room, so when a brush dislodges particulate, it’s pulled toward the collection point rather than pushed out of the nearest register.
We use Nikro HEPA-rated vacuum equipment for exactly this reason. It’s the same negative-pressure technology used in professional remediation work, and it traps fine particulate at the collection unit rather than recirculating it into the room. There’s a reason remediation crews rely on it: standard shop vacs pull volume but not containment. They’ll move a lot of air and then exhaust the fine dust through a filter that wasn’t built to capture particles at that size.
Start the agitation before the vacuum reaches its target suction and the order of operations inverts. Debris goes airborne. Some of it settles back into the ducts, some escapes into the room, and some gets pulled through the return into the air handler, where it coats the blower wheel and evaporator coil. A partially cleaned system can end up in worse shape than one that was left alone, because the dislodged material now sits where airflow can pick it up and distribute it all season.
In Everett’s housing stock, this matters for a specific reason. Many homes here were built with flex duct runs or older metal trunk systems where the joints, boots, and plenum connections have had decades to accumulate sediment. A brush dislodging that sediment without a vacuum pulling it out is like sweeping a room with the doors and windows closed. The dust doesn’t leave. It just moves to the corner you weren’t looking at.
The good news: when the suction is right, source removal is real removal. Camera inspection lets us confirm it visually. Cleaning you can see, not just schedule. That’s the whole point of running air duct cleaning with professional containment rather than a shop vac and a brush.
What Everett Homeowners Can Legitimately Do Themselves
Some parts of duct maintenance are well within reach of a careful homeowner. Knowing where the line sits between DIY maintenance and system cleaning is the honest first step.
Register and grille cleaning. The supply and return grilles you see on the wall or floor collect dust on the room-facing side. Remove the screws, wash them in the sink with warm water and a little dish soap, dry them fully, and put them back. This is genuinely useful maintenance and doesn’t touch the duct interior.
Filter replacement protocol. This is the highest-leverage task in the whole house. Follow the manufacturer’s recommended interval (typically every one to three months depending on filter type), always verify the filter size printed on the frame matches what you’re installing, and check the airflow direction arrow points toward the air handler. A clogged filter forces the blower to work against resistance, which is where efficiency loss starts. Never run the system without a filter in place; that’s how the blower wheel and coil get coated.
Dryer vent lint clearing. You can and should remove the flexible transition duct behind the dryer and clear the lint from it periodically, and clean the outdoor vent flap of obstruction. But the long run through the wall is a different story. Compacted lint in a long vertical run is a fire-hazard condition that needs professional-grade agitation and vacuuming, and it’s why dryer vent cleaning is a safety service rather than a maintenance upsell in our book.
What you cannot do yourself. Main trunk line cleaning. Branch run cleaning. Plenum and air handler cabinet cleaning. Interior duct surface cleaning of any kind. These require the vacuum the ductwork was designed around: something capable of pulling continuous negative pressure from the collection point through the entire run while the interior is being agitated.
One more thing worth naming plainly: cleaning the outside of the register does not clean the duct behind it. If your register has a visible dust ring around the perimeter where airflow exits, the accumulation is coming from inside the run. That’s a system-cleaning issue, not a grille-washing issue.
Equipment Reality Check: Why Consumer Vacuums Fall Short
The consumer duct-cleaning attachments sold online look reasonable in the product photos. In practice, they share two limitations: airflow measured in cubic feet per minute (CFM) that’s far below what source removal requires, and a filter that captures a fraction of the fine particulate a duct system holds.
Here’s how the equipment tiers actually differ:
- Shop vac with a brush attachment. Pulls volume, not containment. The filter is usually rated for sawdust and larger debris, and fine dust escapes through the exhaust. Airflow is limited by the hose diameter and motor size.
- Consumer-grade duct cleaning kit. Adds a longer hose and a rotating brush head, but the same airflow ceiling and filter limitation. This is the tier most DIY tutorials are quietly describing.
- Professional HEPA vacuum (Nikro grade). Designed for remediation work, with true HEPA filtration at the exhaust and enough continuous negative pressure to hold the whole system under suction while the interior is being worked.
- Rotobrush system. Combines the vacuum source with a mechanical brush and a camera all working together, so the cleaning is visible in real time and debris is captured at the source rather than trusted to a later pass.
The air velocity question matters as much as the vacuum. Debris in a main trunk line has accumulated along the bottom of the duct over years. To lift and carry it back to the collection point, the vacuum has to create real airflow at the trunk, not just suction at the register. That’s a function of CFM at the source and the diameter of the collection path. Consumer equipment runs out of both well before it reaches the trunk line on a typical Everett home.
The consequence of using inadequate equipment isn’t just a mediocre cleaning. It’s that the dislodged debris now sits in the airstream ready to be picked up by the next heating call. Poorly cleaned systems can be harder on indoor air quality than systems that were never touched, because the untouched ones have most of the sediment still bound to the duct wall.
When DIY Attempts Create New Problems
Consumer-grade agitation doesn’t just fail to clean. It has the potential to damage the system while trying. The failures we see most often around Everett homes fall into a few categories.
- Duct joint tape dislodged. The foil tape sealing seams in metal ductwork is not structural. A rotating brush head run against a taped joint can peel the tape free, opening the seam. Once that happens, conditioned air leaks into the wall cavity and the system starts pulling from unintended places.
- Flex duct lining compressed. Flexible duct has an inner liner that creates the smooth interior surface. Aggressive brushing collapses that liner against the outer jacket, which kills airflow across the whole run. A compressed flex duct has to be replaced, not cleaned.
- Mold spores redistributed from an isolated section. If one section of ductwork has a moisture problem and a fungal growth has taken hold there, a DIY attempt without containment can spread spores through the entire system. What was localized becomes a whole-house air quality issue.
- Loose debris pushed into the air handler. Dust and lint that a brush dislodges in the return plenum without a vacuum at the collection point can be pulled into the blower cabinet and coil. This is one of the more expensive ways a cheap cleaning goes wrong.
- Damper blades bent or jammed. In older duct systems the balancing dampers inside the trunk lines are thin metal. A brush run through that zone at the wrong angle can bend a blade, which throws off the room-by-room balance across the whole house.
None of these failures are inevitable. But they’re the price of trying to do a job whose physics require equipment most homeowners don’t own. And they’re why a partially executed cleaning is often worse than waiting to book a proper one.
If you suspect your system has a moisture problem, visible growth, or a section of duct that’s been wet, stop before you start. Those are situations where Abatement Technologies-grade equipment exists specifically because the contamination load exceeds what a routine cleaning can handle. In those cases you need a professional assessment, not a YouTube tutorial.
The Cost-Justification Math for Everett
The honest way to compare DIY and professional cleaning is to look at the cost of the whole system over a few years, not just the day-of price. And there are three numbers that shift in a homeowner’s favor when the ducts are genuinely clean.
Filter replacement frequency. When ducts are loaded with sediment, that material blows into the filter and clogs it faster. Homeowners with dirty systems typically change filters at the low end of the manufacturer’s interval or even earlier, because the filter turns gray ahead of schedule. A clean system lets filters run their full intended life.
HVAC efficiency loss. Dust accumulation on the blower wheel, the evaporator coil, and the duct interior creates resistance against airflow. The system runs longer to deliver the same conditioned air. In a Pacific Northwest climate where heating is the dominant load, that runs up the utility bill steadily across a season.
Component strain. A blower that has to work against resistance wears out sooner. A coil with a dust mat on the fins has to run longer cycles, which loads the compressor and shortens equipage life. A professional cleaning doesn’t prevent every failure, but keeping the system clean and unobstructed is one of the simplest things a homeowner can do to get full service life out of the equipment.
Here’s the comparison in plain terms:
| Approach | What it costs over 3 years | What you actually get |
|---|---|---|
| Repeated DIY attempts with consumer vacuum | Attachments + shop vac + accelerated filter replacement | Partial agitation, redistributed debris, no verification, risk of joint damage |
| Professional cleaning, priced per system | One flat price for the whole system, agreed in writing before work starts | Source removal under negative pressure, camera-verified results, before-and-after photos |
We don’t quote per-vent. We price a duct cleaning per system, in writing, before we start. That means the number on the estimate is the number on the invoice. If you’ve had a cheap cleaning that ballooned once the crew arrived, that’s the bait-and-switch pattern we’re set up to avoid, and it’s why we send before-and-after photos of your own ducts when the job is done.
Call (833) 991-7936 for a free estimate on Duct Cleaning Everett. We answer 24/7. Fast dispatch from 7am to 7pm, Sunday through Friday.
Camera-Verified Cleaning: How to Know the Job Was Done
The single biggest complaint about the duct cleaning industry is that homeowners have no way to confirm what happened inside their ductwork. A crew arrives, runs equipment for a couple of hours, packs up, and the invoice shows up. The interior of the ducts is somewhere the homeowner never sees.
Camera inspection closes that gap. Our Rotobrush system runs a small camera alongside the mechanical brush through the duct, and the technician sees the interior in real time before and after each section. That’s the difference between a cleaning you schedule and a cleaning you can confirm. And it’s why we photograph the before-and-after condition of your own system, not a stock image from a brochure.
What this changes for a homeowner:
- You can see what was in the ductwork before the job began.
- You can see the same sections when the job is done.
- If a section shows damage, a failed connection, or a collapsed run, you hear about it while the technician is still on site.
- The photographic record lives with the job, not in someone’s memory.
If you’re booking a cleaning and the company can’t tell you how they verify the work, ask them. If the answer is “trust us,” take it as the cue to look elsewhere. The technology exists to make the work visible, and in an Everett home where ducts have been carrying dust for decades, visible verification is worth having.
The Repair Gap Most Cleaning Companies Won’t Touch
Here’s where cleaning-only outfits tend to hand you a business card for someone else: the cleaning reveals a problem. A section of duct has separated from the plenum. A flex run has collapsed. A taped joint has failed open. The brush cleaned the duct that was there, but it couldn’t clean the disconnection or the leak.
We repair what others walk past. Air duct repair is one of our three services for exactly this reason: the same person who inspects and cleans the system is the person who can fix the structural breach in it. That’s a significant difference from the call-two-companies workflow most homeowners are pushed into, where the cleaning company wipes their hands of any structural find and the homeowner is left trying to source a repair contractor who knows duct systems.
Common finds that call for repair rather than cleaning:
- Disconnected or failed plenum connections at the air handler
- Collapsed or crushed flex runs from renovation or storage
- Taped joints that have opened over time in metal trunk lines
- Sections of duct separated from boots or register boxes
- Damper mechanisms that no longer operate
Low-cost cleaning crews that arrive with a shop vac usually don’t have repair in scope. When a failing joint shows up mid-job, they either clean around it and move on, or they don’t notice. Either way, the system keeps leaking conditioned air into the attic or crawlspace long after the cleaning was billed.
If you want filtration upgrades or system components added after a cleaning, we work with filters and hardware from Honeywell, Aprilaire, and Guardsman, so the whole thing can be resolved without scheduling a third contractor. One provider, three services under the same roof, in Everett homes.
How a Professional Cleaning Actually Runs
A proper cleaning follows the order the physics requires. Suction first, agitation second, verification throughout. Here’s the sequence we run:
- System survey and camera walk-through. Before any equipment is connected, we run the camera through the ductwork to see what’s there: sediment load, any moisture, any damage, any failed joints. This is where much of the repair discovery happens.
- Vacuum connection and negative pressure. The HEPA vacuum is tied into the system at the collection point. We confirm the ductwork holds negative pressure before agitation begins. That single check is what separates a proper cleaning from a DIY attempt.
- Register and vent removal. Supply and return registers come off so the duct interior can be reached at the entry points. They’re cleaned separately and reinstalled at the end.
- Mechanical agitation with simultaneous vacuum. The Rotobrush whip runs through each branch and trunk line while the vacuum pulls dislodged debris back to the collection point. Camera inspection runs alongside so the technician sees what the brush is reaching.
- Air handler and plenum cleaning. The blower cabinet, coil face, and return plenum are cleaned where accessible, because dust loads here too and an uncleaned cabinet recontaminates a cleaned duct.
- Post-cleaning camera verification and photography. Each zone is re-inspected on camera. Before-and-after photos are captured of your own ductwork.
- Register reinstall and seal check. Registers go back, and every accessible joint is checked for integrity before signoff.
The whole job runs on professional-grade tools, not a shop vacuum and a brush. That’s the point. Cleaning a system is a process, and the process is worth getting right once instead of trying three times.
If you’re in the market for a full-scope duct service across the Everett area and the disconnects, taped joints, or duct condition are unclear, ask any company you retain for camera verification. If they can’t provide it, you already know what you’re buying.
Common Mistakes to Avoid
- Running a brush through the ducts without vacuum containment already in place. The vacuum needs to be running at its target negative pressure before agitation starts. Otherwise you’re just redistributing dust into the house.
- Using a shop vac as if it were a duct cleaning system. Shop vacs pull volume, not containment, and the filter won’t capture fine particulate. The exhaust puts the fine dust right back into the room.
- Blaming the filter for a dirty-duct problem. Replacing filters faster and faster is usually a symptom of sediment load upstream, not the cause. Solve the ducts first, then let the filter run its normal interval.
- Skipping the dryer vent because you “cleaned the lint trap.” The lint trap only catches what reaches it. Compacted lint in the long run through the wall is a different animal and a fire concern, not a maintenance detail.
- Ignoring a failing joint because the cleaning “finished.” If the camera shows a disconnected plenum, a crushed flex run, or a failed taped seam, cleaning has cleaned the leak rather than fixed it. Repair needs to happen in the same visit.
- Booking a per-vent quoted price without asking what “per system” would be. Per-vent pricing incentivizes fast upsells and hides the actual scope. A flat per-system price, agreed in writing, is the only figure you can compare to another company’s flat price.
- Assuming a cheap cleaning can be redone properly later at the same price. A partial cleaning that dislodges and redistributes debris often creates more work in the second visit than the first visit would have required if done right the first time. The economics favor doing it correctly once.
See the difference
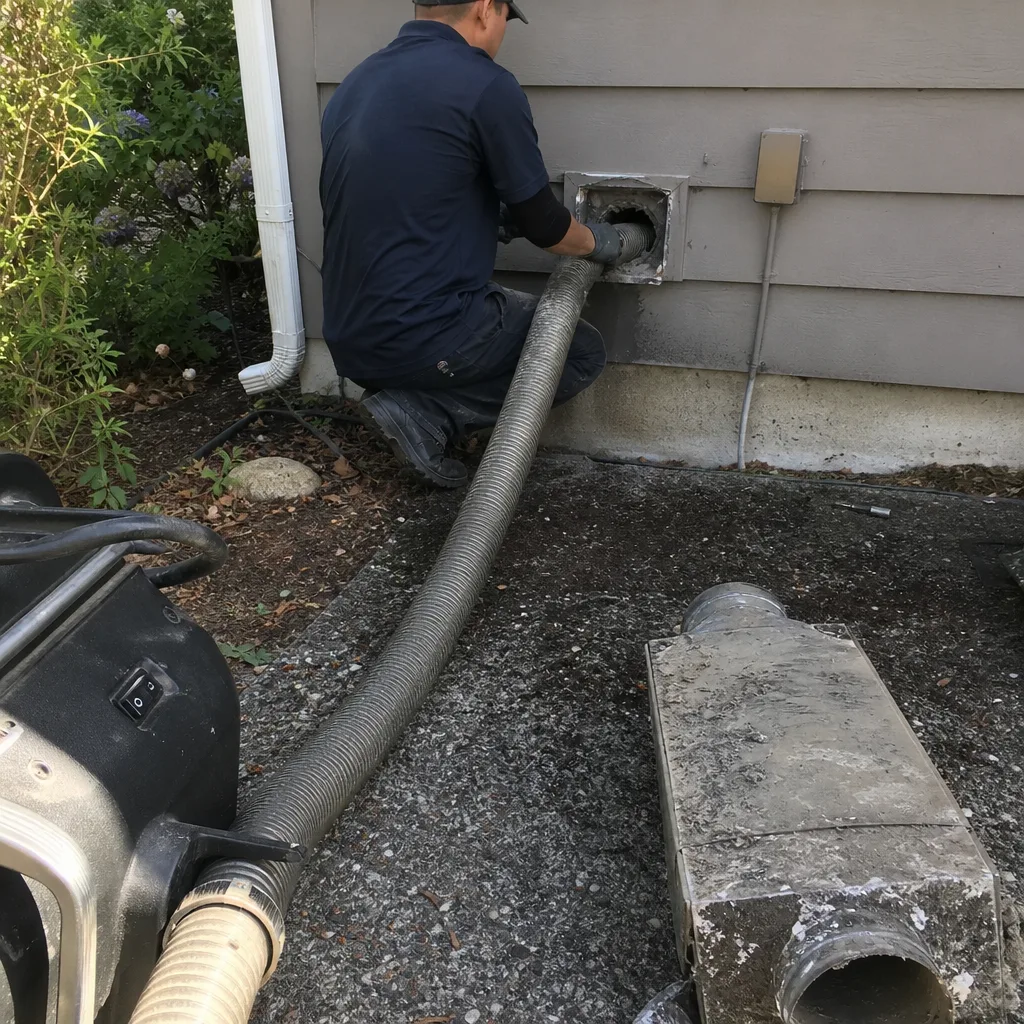 Before
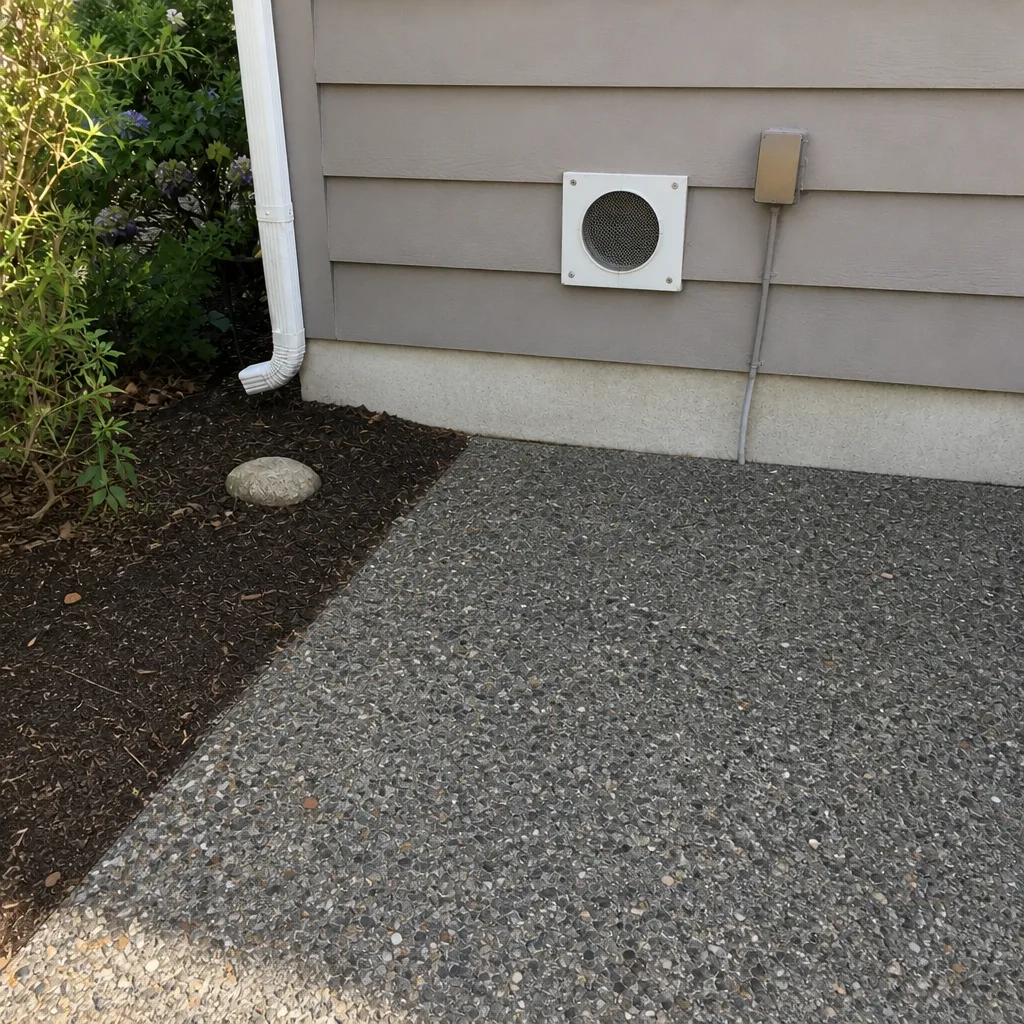 After
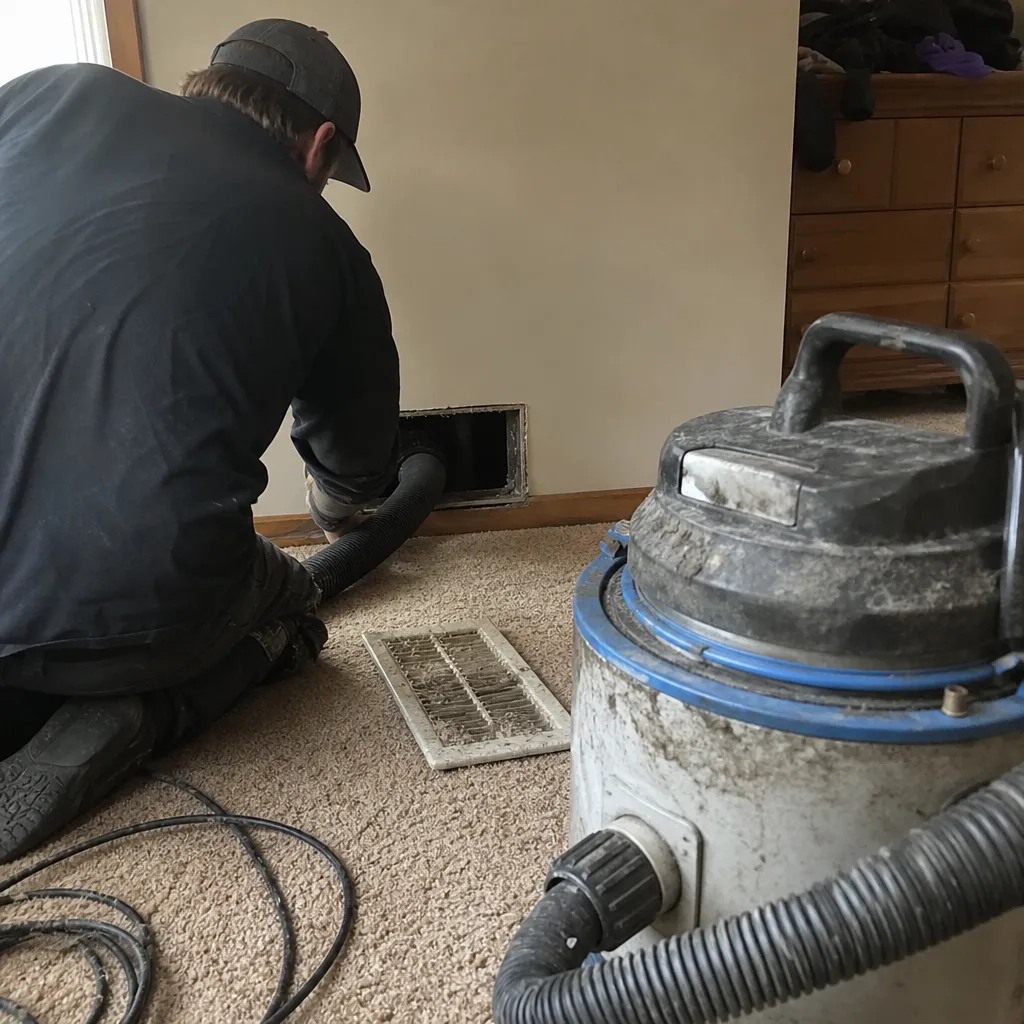 Before
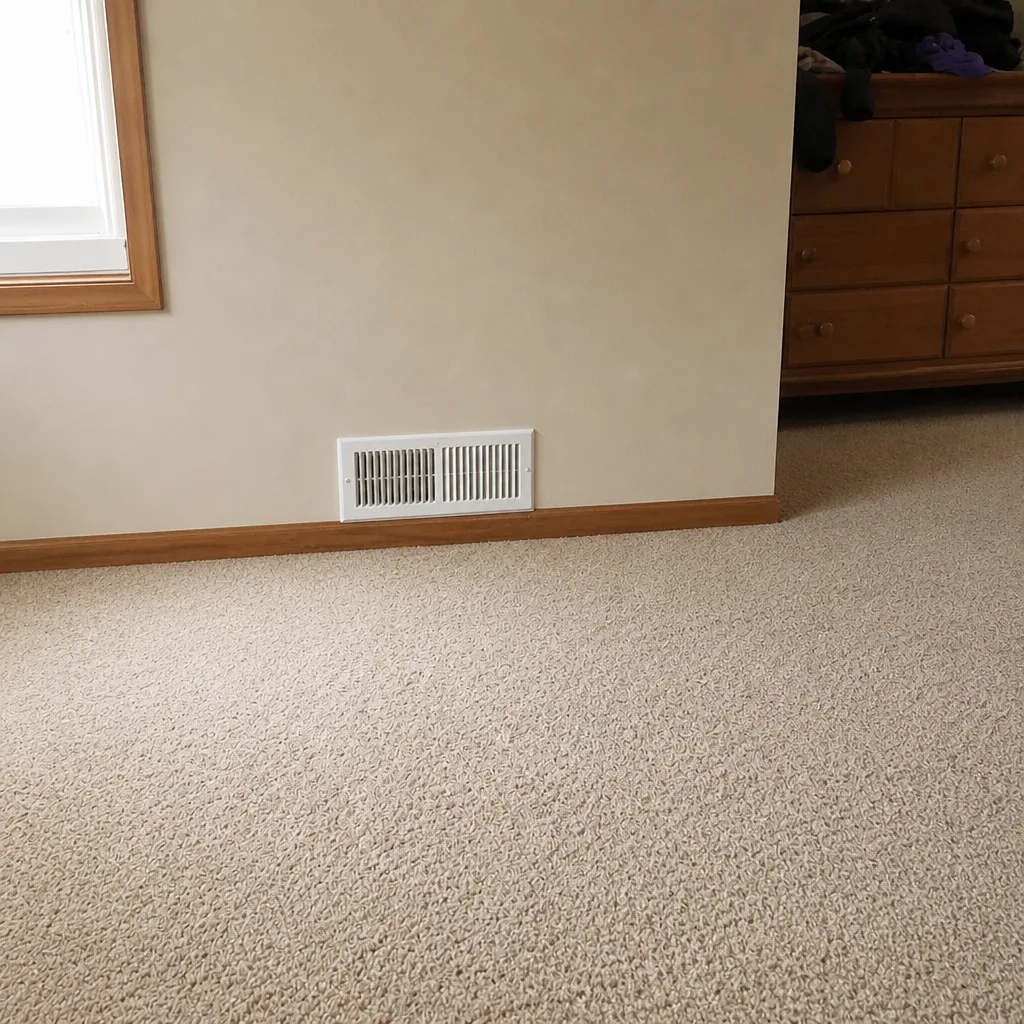 After
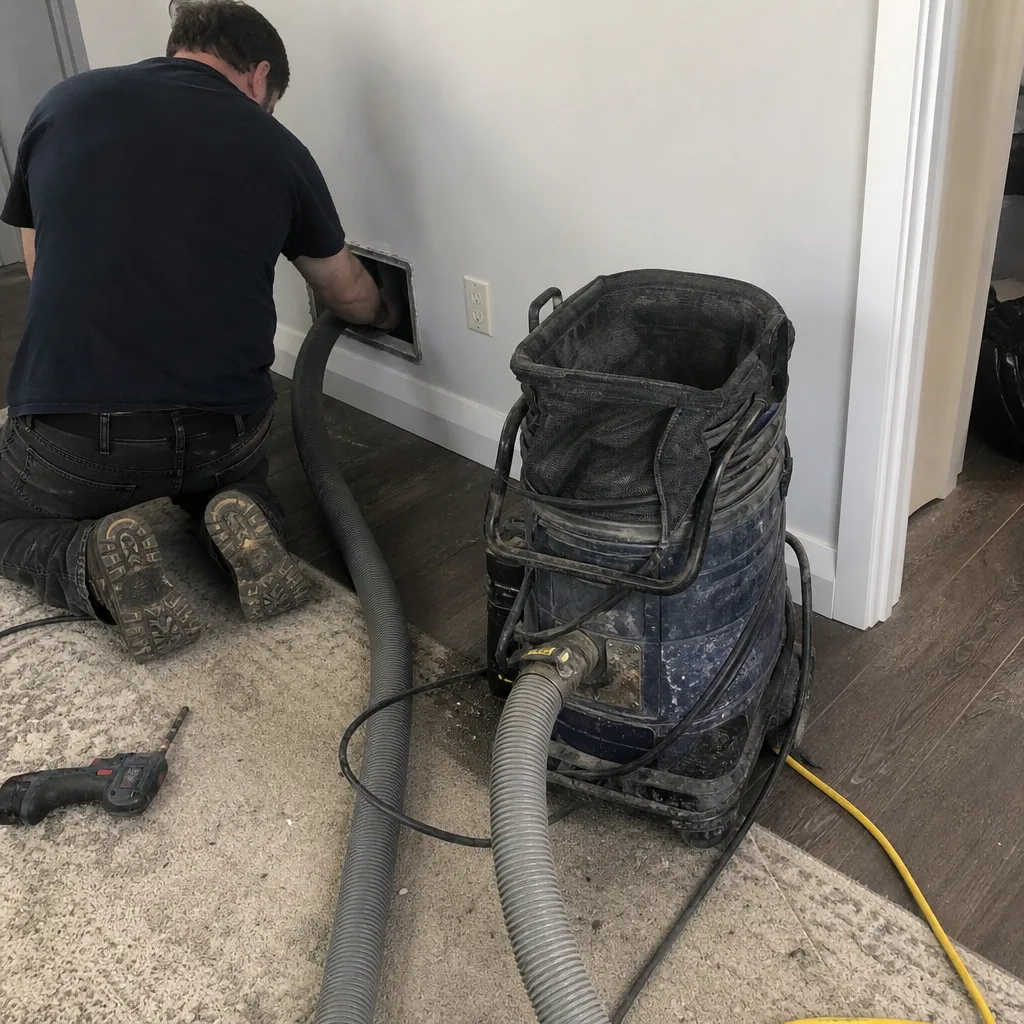 Before
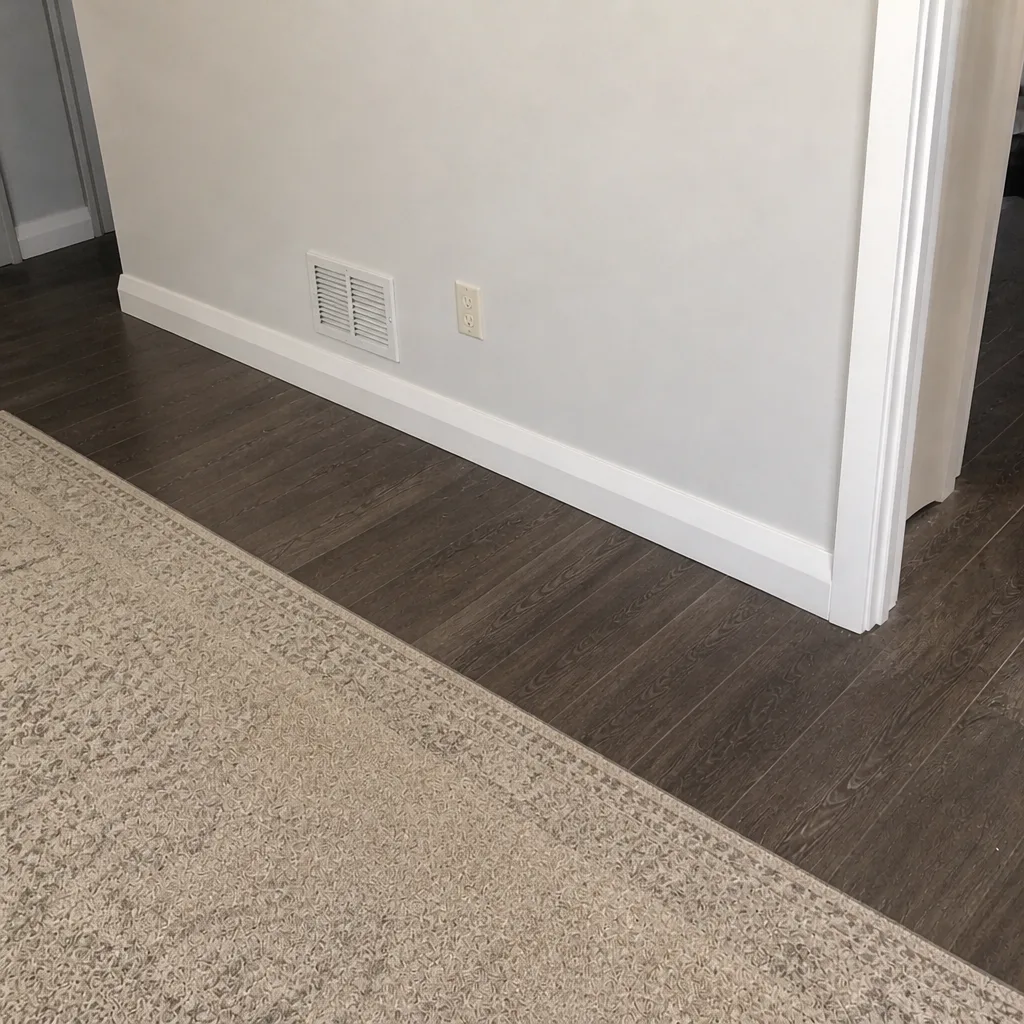 After
When to Call a Professional
Call a professional when the system needs source removal you can verify, not just schedule. That includes any time you’re moving into a home with an unknown duct history, any time filters are clogging far faster than the manufacturer’s interval, and any time you can see visible dust rings around the register perimeter where airflow exits. It includes the moment you notice condensation inside the ductwork or smell something musty when the system first starts, which are signs of a moisture problem that needs assessment before any cleaning. And it includes every time a DIY attempt was already made and left you wondering whether the job was actually done, because that’s exactly the case where camera verification matters most.
If any of that sounds familiar, don’t push it another season. Duct Cleaning Everett offers free estimates in Everett. Call (833) 991-7936. We answer 24/7. Fast dispatch from 7am to 7pm, Sunday through Friday.
Frequently Asked Questions
No. A shop vac pulls volume but not containment, and its filter isn’t built to capture fine particulate at the particle size ducts hold. Without negative pressure, dislodged dust goes into the living space rather than out. Source removal needs a professional HEPA vacuum like the Nikro system we use.
We price per system, not per vent, and the number is agreed in writing before work starts. That’s deliberately different from a per-vent quote or a teaser coupon, both of which tend to grow once the van is in the driveway. Call (833) 991-7936 for a free estimate on your specific system; we’ll give you the flat per-system price for your home in Everett.
Cheap quotes usually reflect the equipment on hand. A shop vac and a brush hose cost a small fraction of a Rotobrush system with camera inspection or a remediation-grade HEPA vacuum. The lower number buys less removal and less verification. The question worth asking isn’t which quote is cheaper; it’s whether the quote covers source removal under negative pressure and camera-confirmed cleaning. If it doesn’t, it’s not the same job.
Camera inspection is the answer. Our Rotobrush system lets the technician see the duct interior before and after cleaning, and we capture before-and-after photos of your own ducts so you have a record. If a company can’t show you the inside of your ducts, the cleanup is being taken on faith. That’s avoidable now.
There’s no fixed universal number. Homes in Everett that are older, have pets, have had recent renovation, or had a moisture event benefit from cleaning sooner than homes with newer ductwork and clean systems. A realistic rule is to inspect on camera first and let the condition of the ducts set the interval, rather than booking on a calendar schedule.
Cleaning removes debris from the duct interior. Repair fixes structural problems: disconnected plenums, crushed flex runs, opened taped joints, failed connections. A cleaning can reveal a repair need but can’t resolve it. We do both in the same visit because the two problems show up together more often than people expect, and splitting them across providers means the leak stays open after the cleaning is billed.
Yes. A separated joint or opened taped seam sends conditioned air into a crawlspace or attic instead of your rooms. The system runs longer trying to reach the thermostat setpoint. If camera inspection turns up a failing connection mid-cleaning, it’s worth resolving on the spot rather than booking a second visit. Call (833) 991-7936 and we’ll assess it in the estimate.
The Bottom Line
DIY duct cleaning isn’t a skill problem. It’s an equipment and physics problem. The debris at the bottom of your trunk lines gets pulled out only when the duct system is under sustained negative pressure from a professional HEPA vacuum while the interior is being agitated. Consumer equipment can’t do that, and a brush without containment just relocates the dust into your rooms. What you can do yourself, genuinely, is keep registers clean, replace filters on schedule, and clear lint from the dryer transition duct. What you can’t do is source removal from the main runs, and you can’t confirm what happened inside your ducts without camera inspection. Duct Cleaning Everett handles cleaning, dryer vent clearing, and air duct repair under one roof, priced per system in writing before work starts. Call (833) 991-7936 for a free estimate. We answer 24/7. Fast dispatch from 7am to 7pm, Sunday through Friday.
Written by the team at Duct Cleaning Everett, serving Everett.